How to stain a wooden fence in a right way?
Staining your wooden fence can be quite effective irrespective if it is old or installed newly. Applying the wood stains helps to improve the design and prolong the lifespan.
Hence, it is important that you take help from a good Highland Village Fence Company. One such organization that can help you out is Highland Village Roofing Pro. They are without any doubt one of the best fence & deck builder that you will find in this area. So, in this blog, we would discuss about how to stain a wooden fence in a right way.
Step 1 : Choose the correct time for the project
Before you start wood fence staining, scan the weekly weather forecast and select a day having a temperatures between 50 to 80 degrees. Other than this, ensure that no precipitation is expected for the next 24 hours and the day is having low to moderate humidity. The reason is that extreme moisture or gold can prolong the wood strain drying time. On the other hand, if it is too hot, then stain can dry out too quickly. Thus, lap marks can be left on the fence.
Step 2 : Prepare the wood for the painting purpose
Depending upon the situation of the fence, you might need sand or strip on the surface.
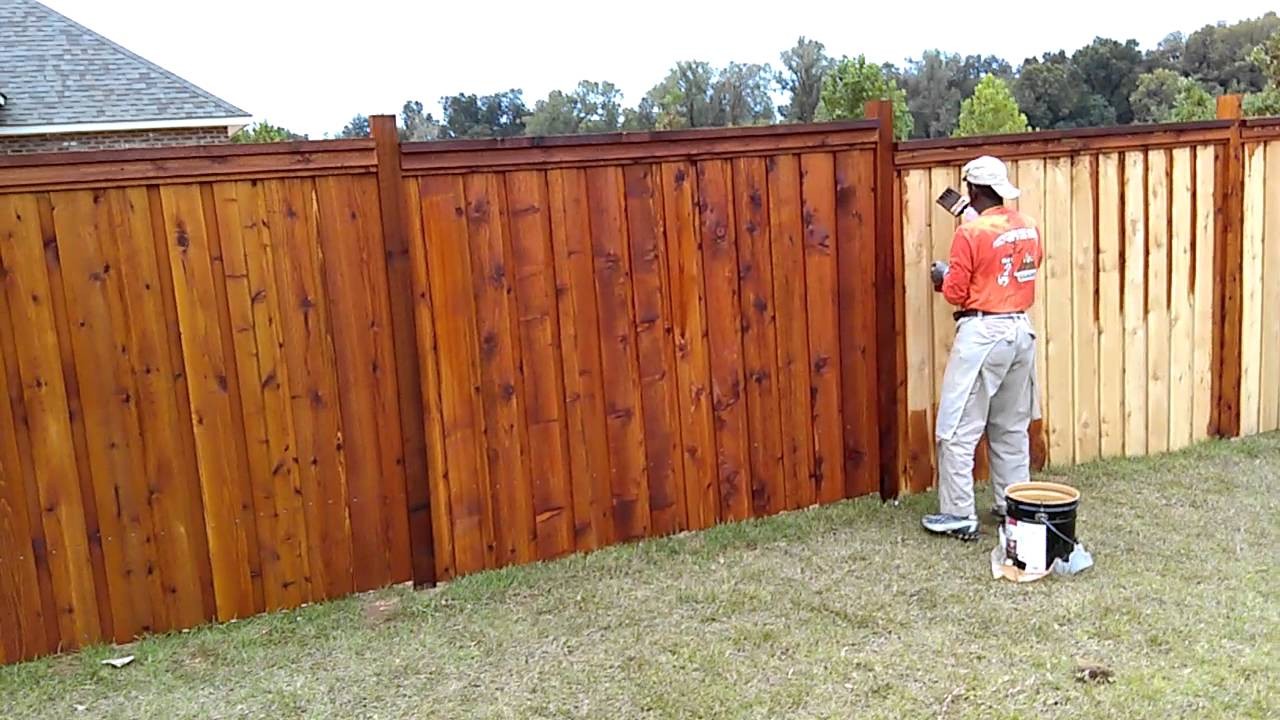
Step 3 : Clean the fence properly and allow it to dry
Make sure to clean the fence with water using high pressure spray nozzle. In this way, light to moderate accumulation of dirt would be removed. On the contrary, if you are using a power washer, opt for a unit that is low powered such that wood slats doesn’t get weathered. You need to endure that wood dries out completely before you continue.
Step 4 : Spot-treat mildew or mold using diluted bleach
If you find mildew or mold deposit on the fence, then a solution of bleach diluted alongside water should be prepared in a bucket. Apply bleach to slats using garden sprayer and further allow the slats to settle down for few minutes. Further, rinse the fence using high-pressure power washer or spray nozzle. Again, you need to ensure that wood dries out completely before you begin to continue.
Step 5 : Make use of wood filler such that patch imperfections can be patched in the fence slats
Repair the gouges, chips or cracks in the fence using the wood filler. If required, replace the slats that are damaged.
Step 6 : Protect the fence parts not to be stained
Utilize painter’s tape to safeguard the fence that you don’t wish to stain. On the other hand, you can also protect the nearby plants with drop clothes.
Step 7 : Allow the stain to dry and apply additional coats if needed
When the entire fence is stained, then allow the stain to dry according to instructions of manufacturer. Apply additional coats if needed to get the desired colour.