Configure the Matic network (Polygon)
1. Configure the Matic network (Polygon) on the web version of Metamask
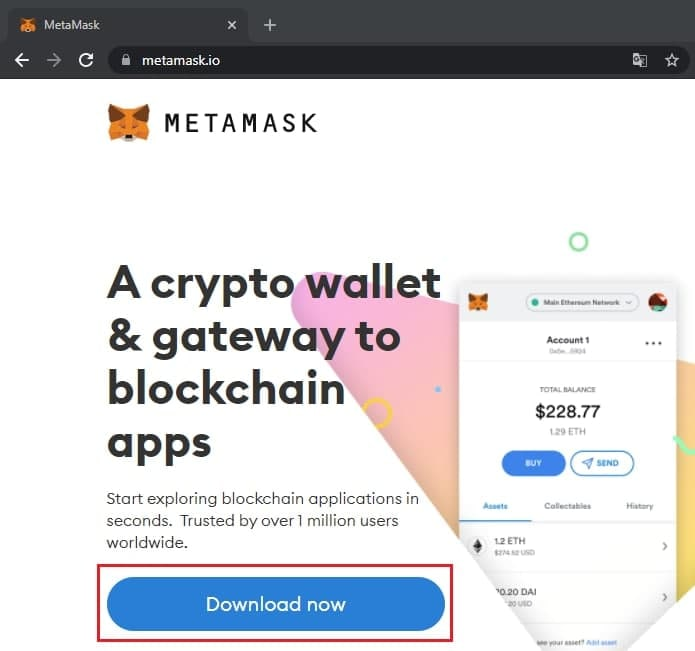
1. Go to the official site metamask.io and click the "Download now" button. Here is how you can create yourself a MetaMask wallet and how to work with it.
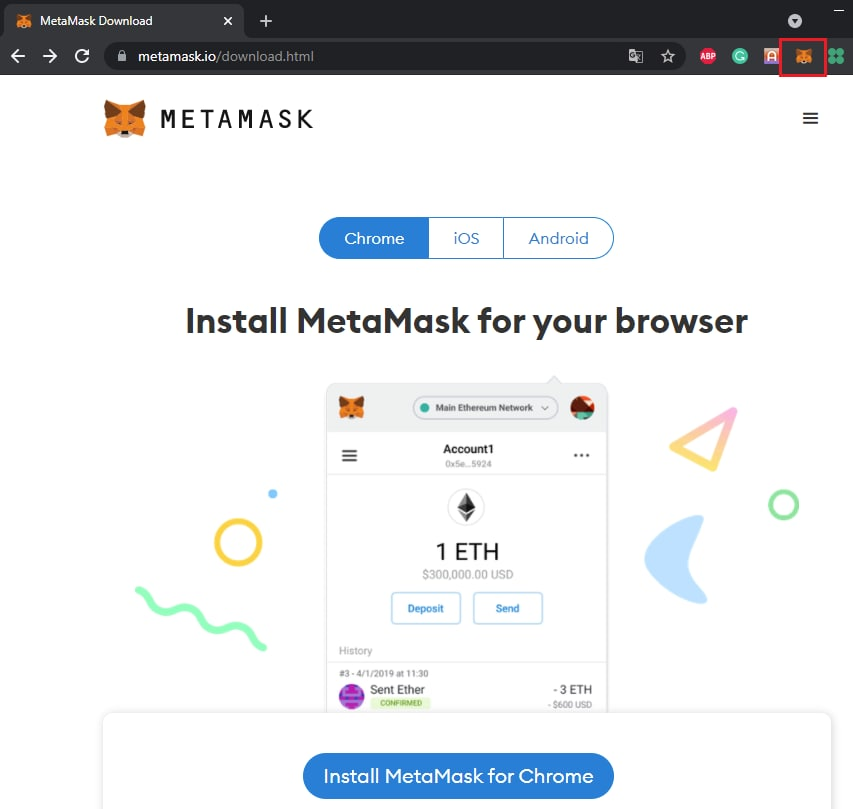
2. Install the extension through the Google market and create a new wallet and click on the wallet icon in the list of extensions
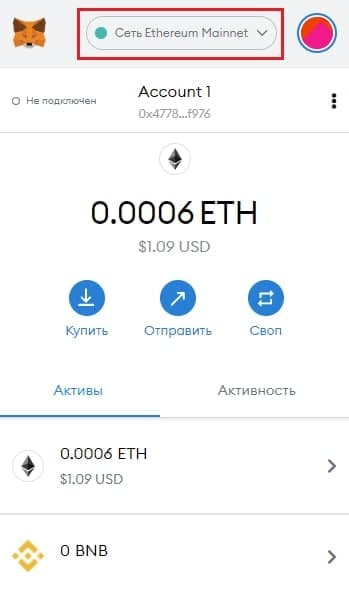
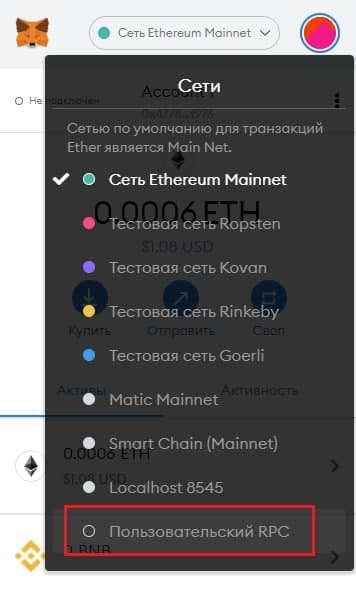
3. Click on the list of networks
4. Select "Custom RPC" to set up a new network
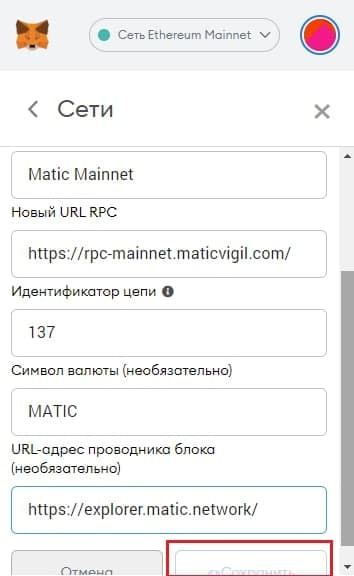
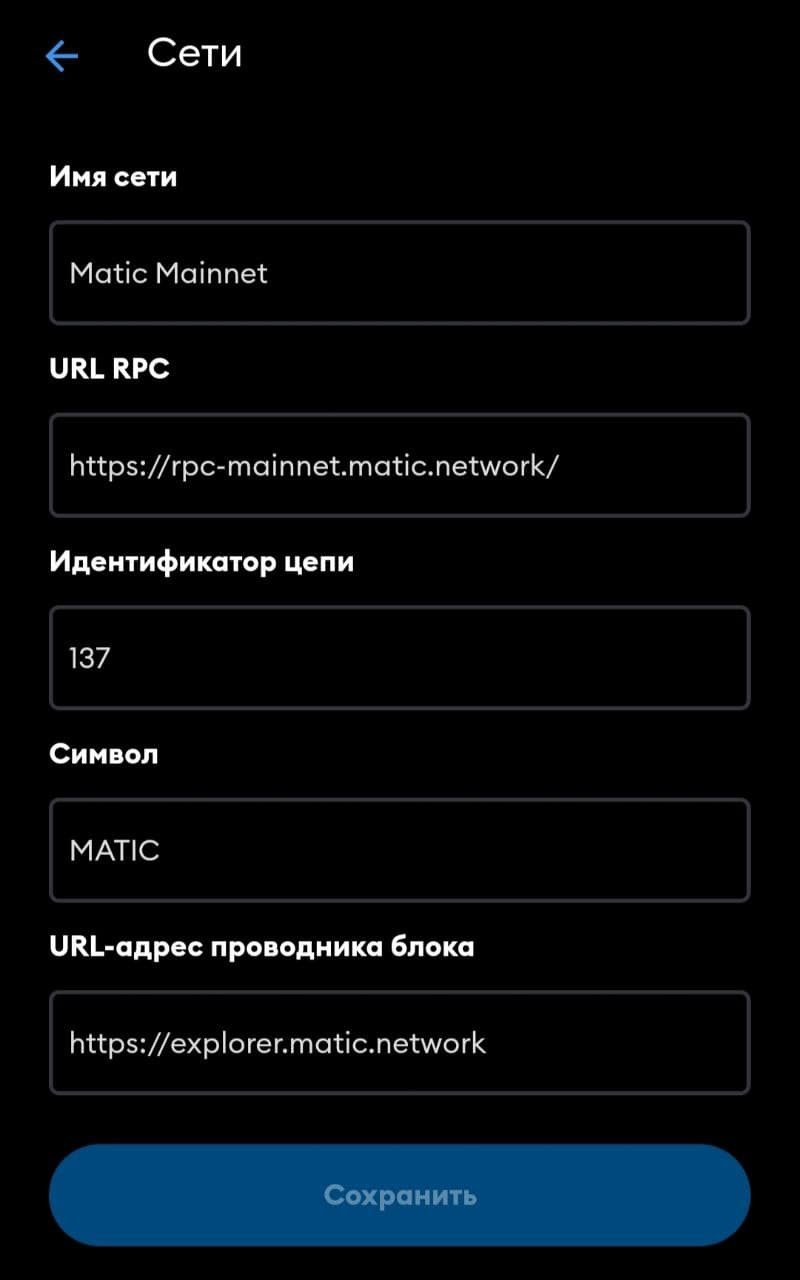
5. Enter the network data and click "Save"
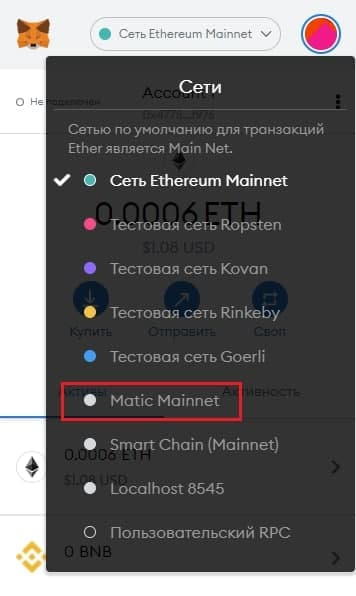
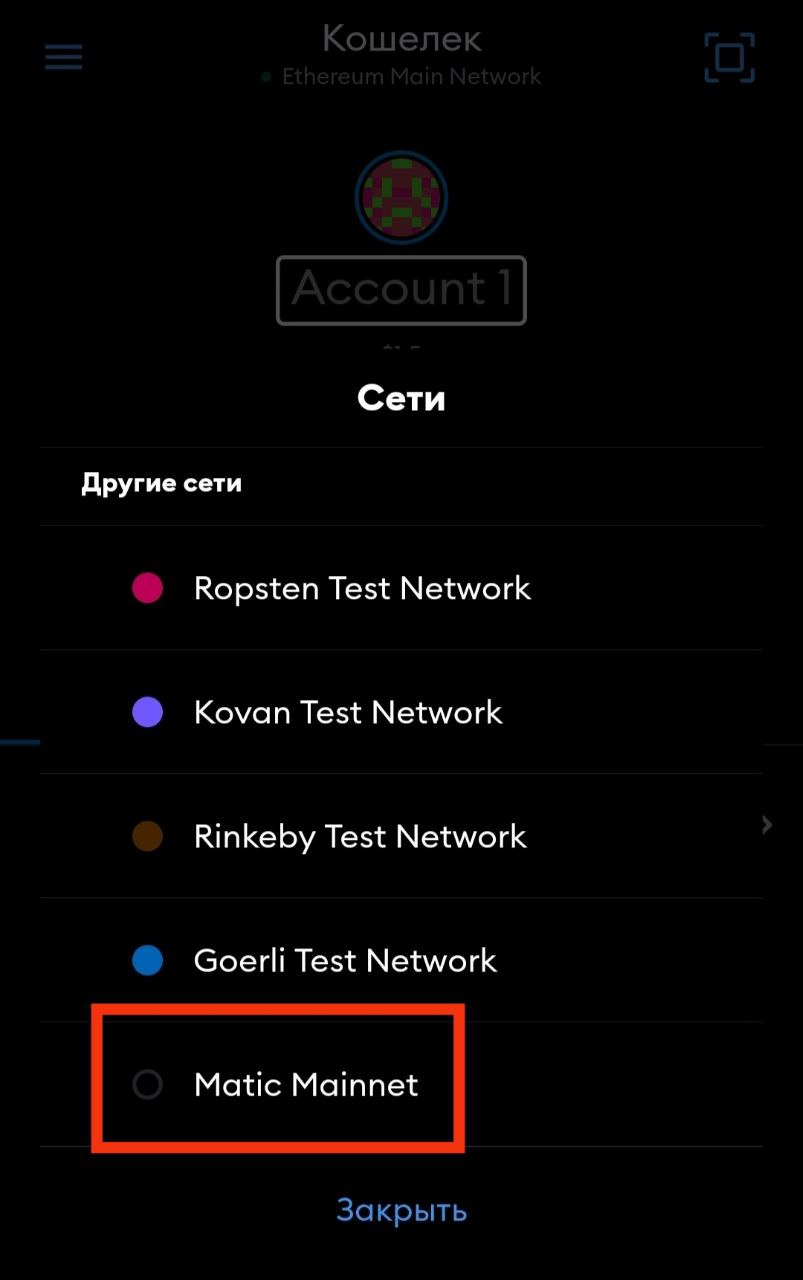
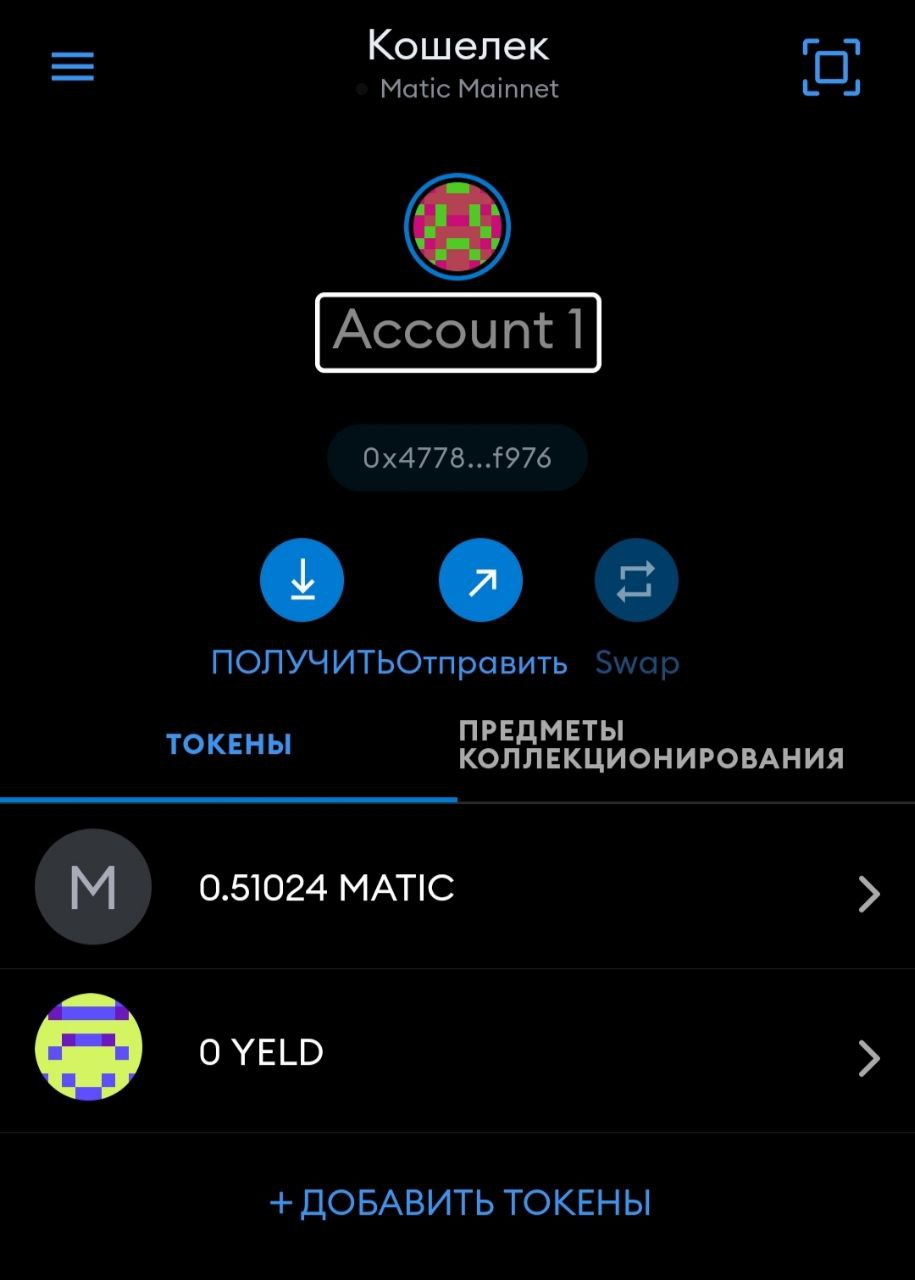
6. Once again open the list of networks and select the Matic mainnet network
Additional information from the author!
On the Polygon network and on the QuickSwap exchange, I have already made more than a hundred different transactions and I am satisfied with everything, I practically pay for gas 0. But I had cases when MetaMask hung or there was an error when making a deal. Having rummaged a little in details, I understood the reason, so I decided to tell here too under the title "RPC Problems".
What is an RPC Address? This is the address where the Node is located, which allows your wallet to interact with the Polygon blockchain network (MATIC). That is, all requests from your wallet go to this address. But due to the fact that thousands of new users are switching to the Polygon network at the moment and everyone uses the same network settings, the load on RPC increases significantly. In this case, he does not have time to cope with all the requests, and on the client's side - our wallets, we see a freeze or errors.
I am more than sure that this trouble is temporary. But so that it does not interfere with me and you in my work, a simple solution is to create several more Polygon (MAITC) networks, but with different RPC addresses. If one network configuration freezes, you quickly switch to another. And so, let's create two more Polygon networks, but with different RPC addresses.
Well, then, in the same window, add two more Polygon networks with different RPCs and network names:
- Network Name:
- New RPC URL:
- Chain ID:
- Currency Symbol:
- Block-Explorer-URL:
- Network Name:
- New RPC URL:
- Chain ID:
- Currency Symbol:
- Block-Explorer-URL:
Now you have three networks with different RPC and can easily switch between them! And below are all the RPC addresses.
RPC URL:
1) https://rpc-mainnet.matic.network
2) https://rpc-mainnet.maticvigil.com
3) https://rpc-mainnet.matic.quiknode.pro
4) https://matic-mainnet.chainstacklabs.com
5) https://matic-mainnet-full-rpc.bwarelabs.com
6) https://matic-mainnet-archive-rpc.bwarelabs.com
2. Configure the Matic network (Polygon) in the mobile version of Metamask
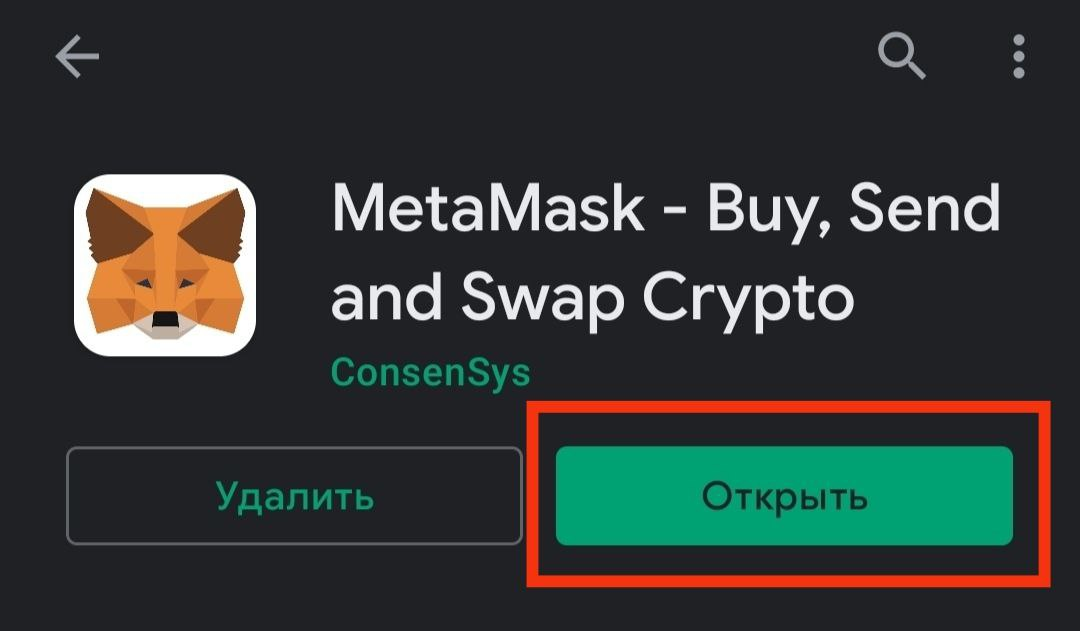
1. Install the Metamask wallet and open it.

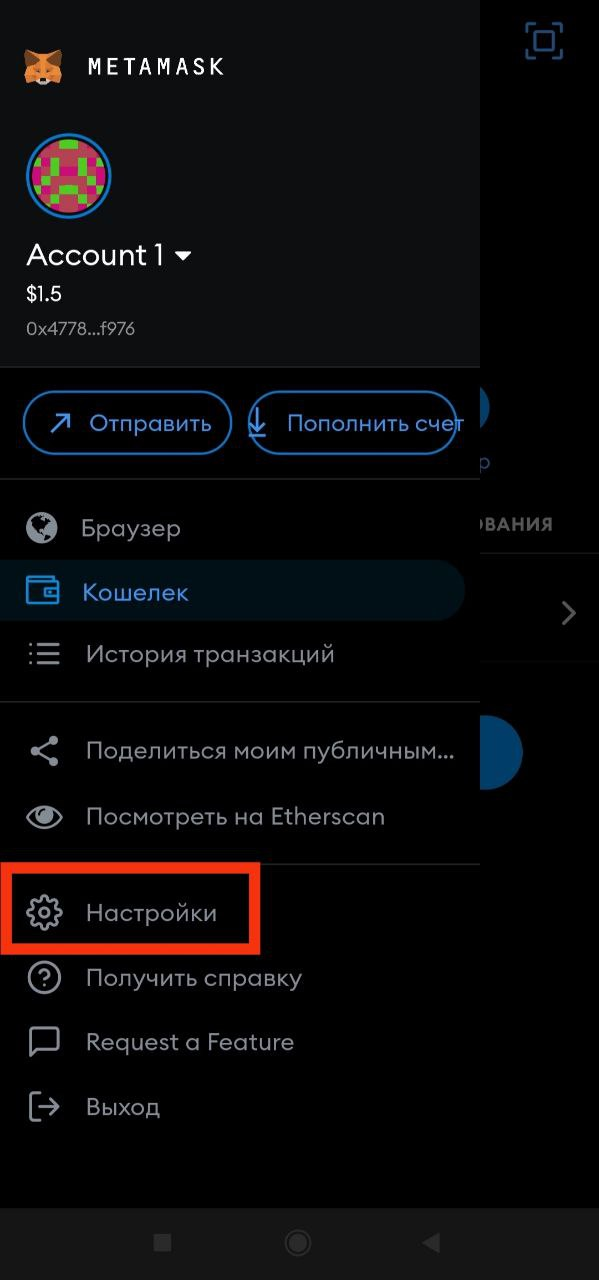

5. Add a network and fill in the network data, below is the filling pattern

Telegram | Instagram | Twitter | GitHub | Discord | Website | Polygonscan