Instructions for installing the Violentmonkey extension
Install Chrome Extension in Developer Mode
This is another method to install Chrome Extension manually, but the twist is that here, you install by enabling the developer mode option provided in Google Chrome. This mode is commonly used for testing extensions or running unpublished tools.
Step 1: Follow this link-> Latest Update -> Violentmonkey-webexe-v(latest version).zip

Step 2: Extract the downloaded contents
Extract the Chrome Extension zip file or folder that you downloaded. Make sure you extract it using the same folder name and keep it safely in another folder, so you don’t delete it by mistake. The extracted folder will be needed to keep your Chrome Extension running.
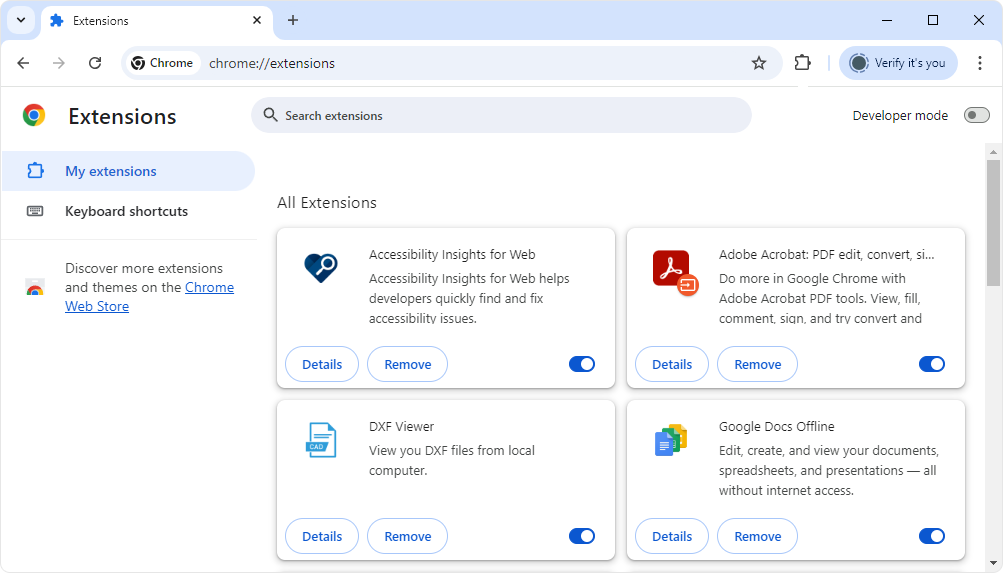
Step 3: Open Chrome Extension Setting Page
In the address bar of Google Chrome, type chrome://extensions and open the Chrome Extension Page.
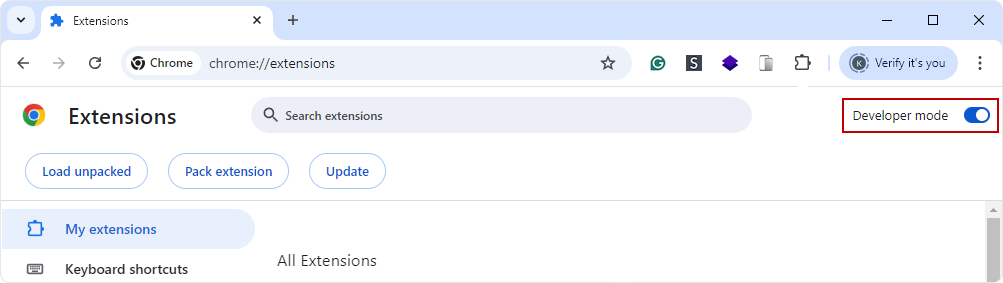
Step 4: Enable Developer Mode
After opening the Chrome Extension page, look at the top right side, and you’ll find the toggle option of “Developer mode.” Simply enable that developer mode option.
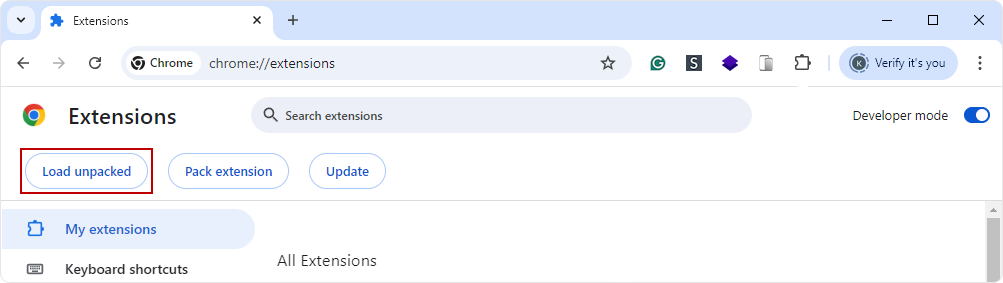
Step 5: Load the Unpacked Extension
Once you enable the developer mode option, you’ll see the menu of Load Unpacked, Pack Extensions and Update. From that, select the option “Load unpacked.”
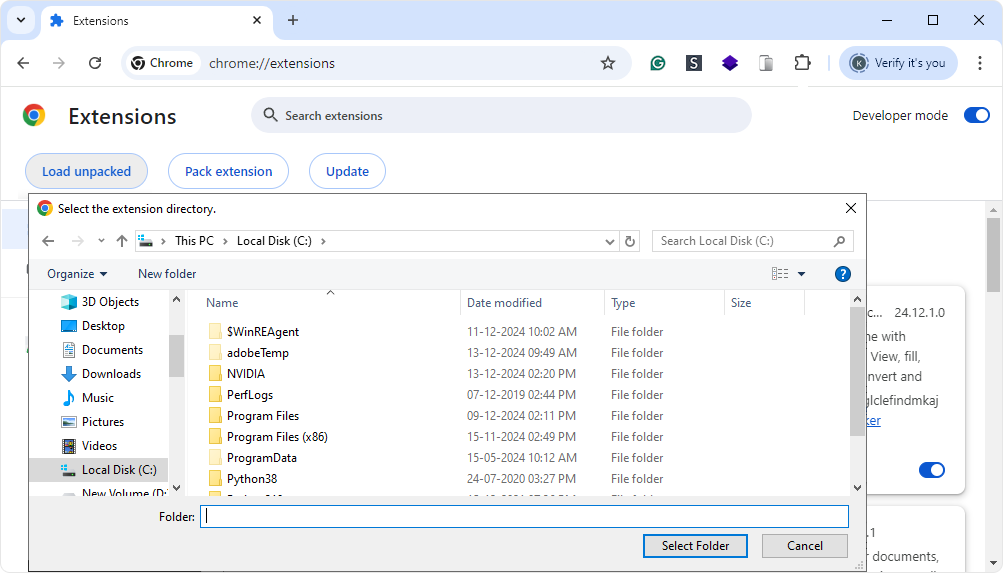
Step 6: Select the Extension Folder
Once the pop-up opens upon clicking Load unpacked, select the extension directory and click on the “Select Folder” button.
Step 7: Confirm and Install
After you select an extension folder of a Google Chrome extension you’re installing manually, confirm its installation for the final time and let the installation complete.