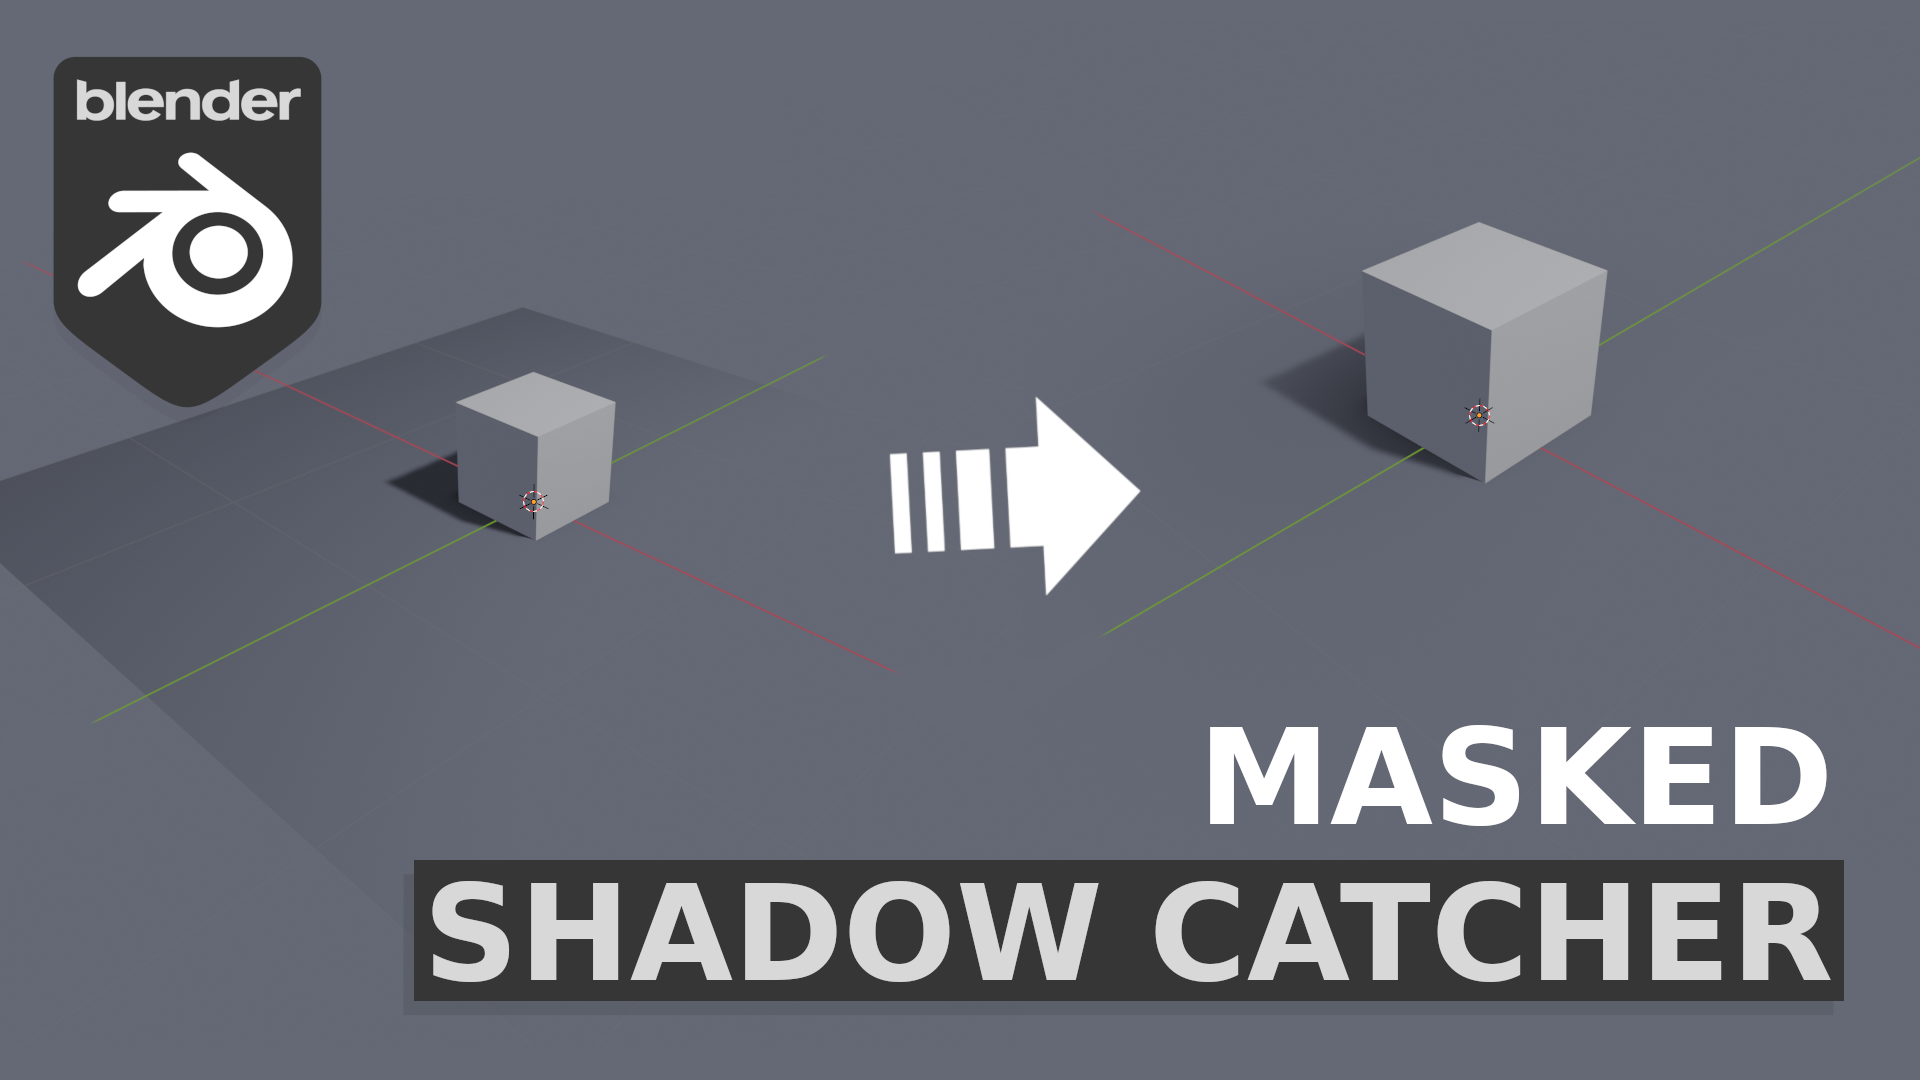
Masked Shadow Catcher in Blender
We can think about a shadow catcher as a shader that is shadeless but catches shadows and light from other objects. That way we can reconstruct objects present in footage allowing digital objects in the scene interact convincingly with them.
I'm pretty much sure there's an automatic button (there is one for Cycles) or plugin that does this in one click , but for the matter of knowledge, let's check how to mix a few nodes to achieve a shadow catcher inside Blender's eevee.
1 - Create a mask from lighting info
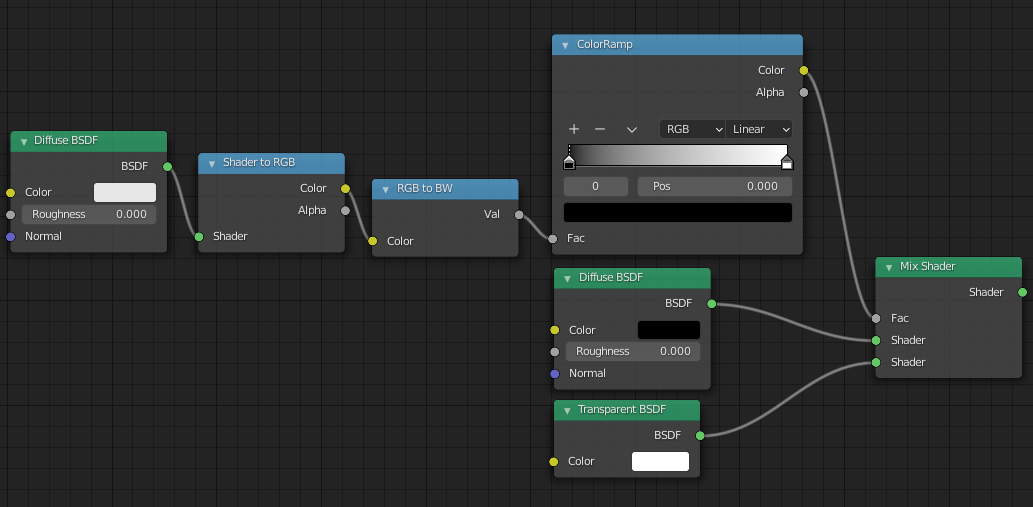
— First of all in a new created material we need to get rid of the default principled-BSDF shader and add a simple diffuse BSDF one.
Then we have to add the main ingredient to the node recipe: a Shader To RGB node. Note that this node only works inside eevee.
According to Blender's documentation this node takes the information from BSDFs and lighting and returns a computed surface color.
Data coming from Shader To RGB needs to be translated into Black and White values so we can process it as a mask. The node RGB To BW is the next to add in the recipe.
Last node we can add to the mask in order to gain some control over the incoming values is a ColorRamp node.
Now we have to use that node chain as a factor for a Mix Shader node that blends a single Diffuse BSDF node with a Transparent BSDF one. Note the color in the Diffuse BSDF has been changed to black.
We can apply this material to a plane and check what happens:

2 - Create a mask for lighting info
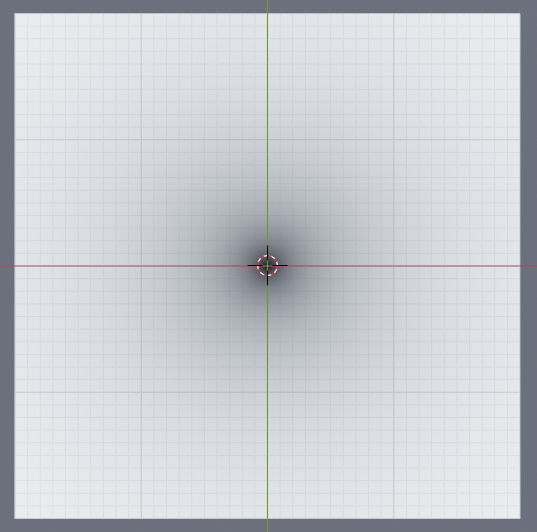
— As we can see once we the material is applied into the surface, the parts of that surface not receiving enough light info become darker. One quick solution is to increase light power, or add more light sources however, that will affect our main object in scene and maybe we don't want that since it can break background matching etc.
Let's fix it by creating a rounded mask for the shadow catcher. Inside the same material we have to add the following nodes:
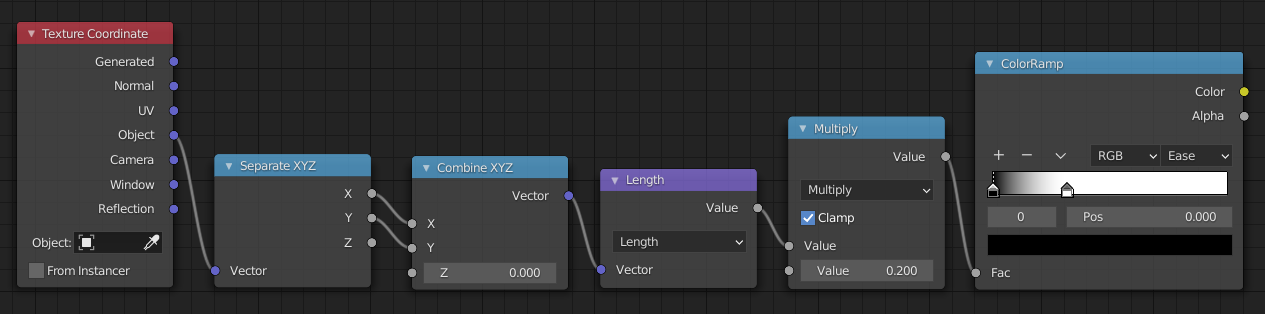
- A Texture Coordinate node set to Object. That way we start using the object's center as the starting point for our coordinates.

- A Separate XYZ node to extract only horizontal info from X and Y.
- A Combine XYZ node to merge the info from X and Y.
- A Vector Math node with a Length operation to calculate the length of the given vector.
- A Math node clamped with a Multiply operation so we get the ability to extend the length of the given point.

- A ColorRamp node to control the mask's border softness.
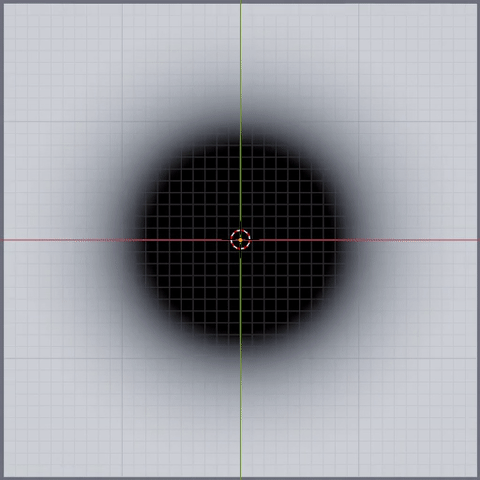
We have created a circular mask in 6 nodes! well... it is useful too as a circle primitive to do some procedural node creation (:
The last step is to add a new Mix Shader node which blends the Shadow Catcher shader with a Transparent BSDF one, using our circular mask as a factor.

And we are done. Here's a quick screencast of the process just in case. Have fun!