Email Authentication using Firebase Auth + Flutter
Introduction
Rarely have we seen that mobile applications are connected to the backend. There are other platforms- AWS or Azure, but no platform could stand Firebase. With the help of Firebase and Flutter, one can develop mobile applications in a better way. In this tutorial, we will learn about building a demo application from scratch and implementing Email Authentication using Firebase Auth + Flutter.
Before getting started with the demo, let’s see what we are building in this tutorial.
Tutorial Goal: Email Authentication with Firebase Auth + Flutter
What is Firebase Auth?
Most of the applications require authentication to verify the user’s identity. Firebase Authentication allows you to use its back-end services by providing SDKs and convenient UI libraries for user authentication in your app. It makes the process less complicated and easy to develop. One can authenticate the user with the help of passwords, phone numbers, or identity providers ( Facebook, Google, and Twitter)
Click here to watch the video introducing Firebase Auth.
Now, let’s see what does Firebase Authentication provides:
- Email/password authentication
- Sign in with Google, Apple, Facebook, Twitter, Github
- Phone number authentication
- Custom authentication
- Anonymous authentication
From the list mentioned above, I’ll be covering Email and password authentication using Firebase Auth + Flutter app. So without further ado, let’s get started with some technical work.
Steps to implement Email Authentication using Firebase Auth + Flutter
Here’s the entire source code for the demo application – Flutter Firebase Auth Github.
Create Flutter project
Run the below command to create a flutter project. You can name it anything here – flutter_firebase_auth
flutter create flutter_firebase_auth
Add dependencies
Update your pubspec.yaml file to add dependencies.
dependencies:
 flutter_test:
   sdk: flutter
 cupertino_icons: ^1.0.2
 firebase_auth: ^1.0.1 # add this line
 firebase_core: ^1.0.2 # add this line
Run the following command to install the packages.
flutter pub get
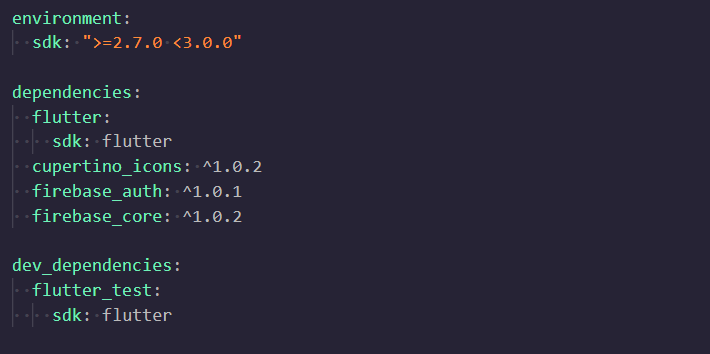
Your pubspec.yaml file would look something like this-
For using these packages, we need to import them as mentioned below-
import 'package:firebase_auth/firebase_auth.dart';
import 'package:firebase_core/firebase_core.dart';
Further moving towards the initial Firebase Setup.
Create Firebase Project
We need to create a Firebase project; for that, visit the Firebase console. Start by adding a new project, giving it a name, agreeing to all they’ve asked, and click ‘Create Project.’
Once you’re done creating the project, it’s time to integrate it with Android and iOS applications.
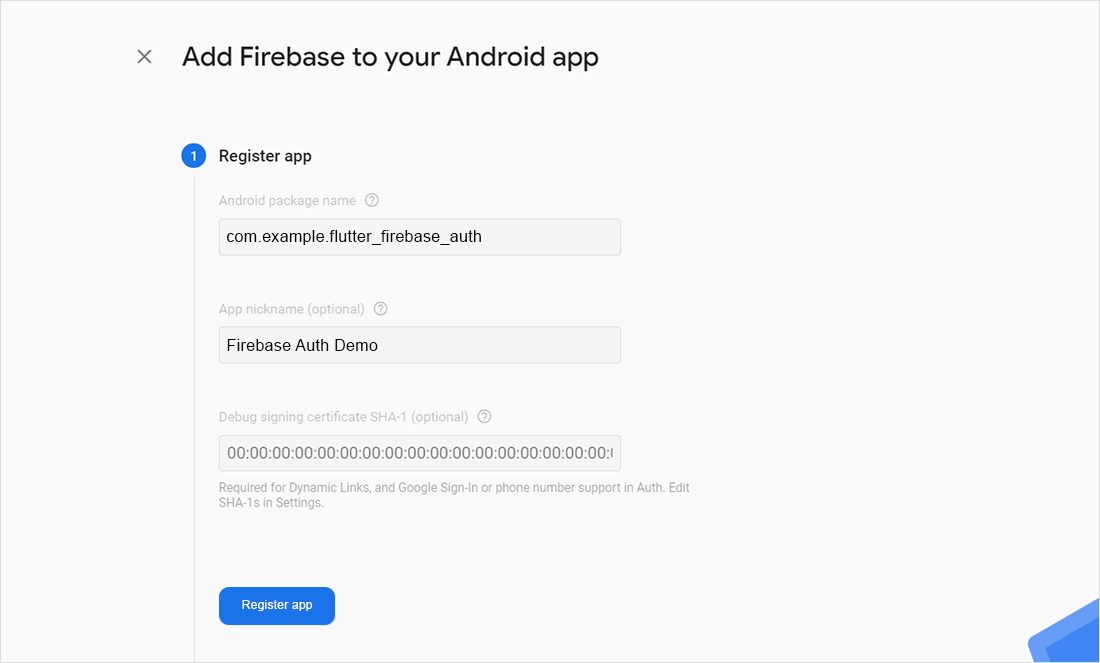
Add Android App
Register your Android application as shown in the below screenshot-
After filling the required fields, you’ll see something like this-
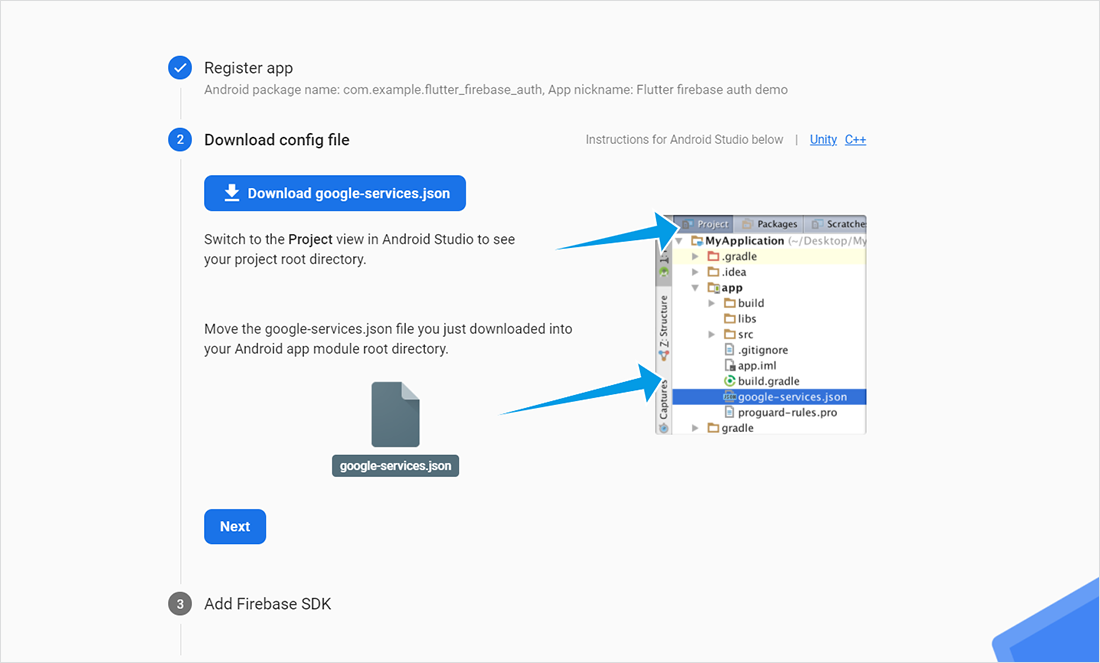
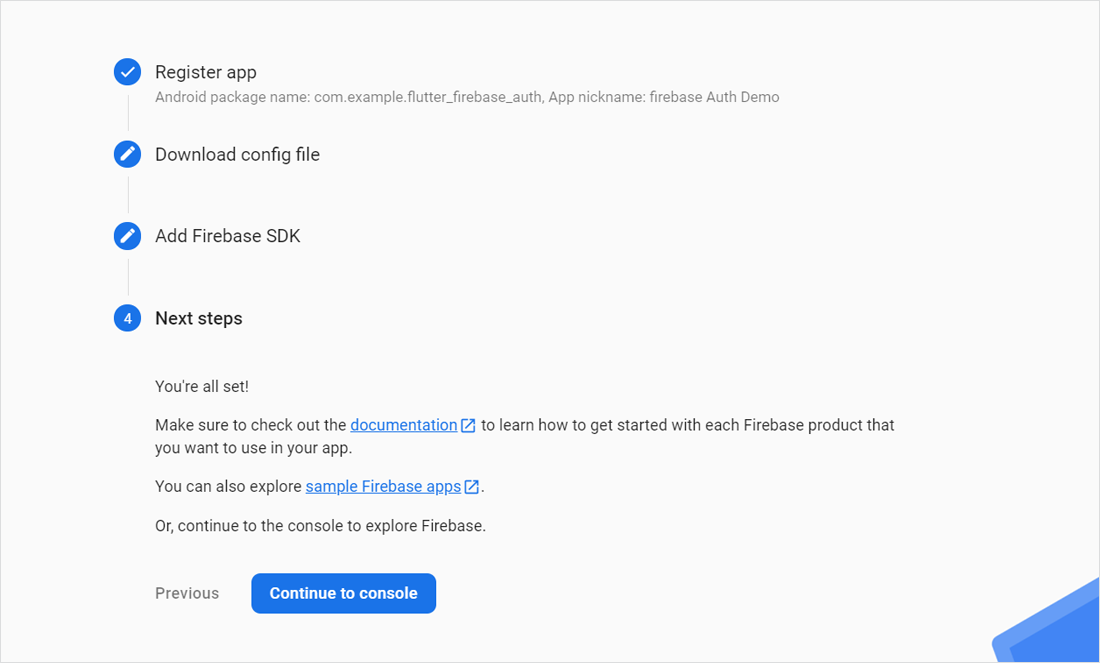
Follow the instructions; Download google-services.json and put it in MyApplication/app folder.
You can skip the next step as we are using: Firebase core and Firebase auth packages.
Click ‘Continue to Console’ to complete the process.
Okay, so this was about integrating the Android app. Now, let’s follow the same steps for integrating the iOS app.