Caricature Effect in Adobe Photoshop
We're going to have fun today. This tutorial will help you create a caricature of your friend in Adobe Photoshop. We use photo manipulation techniques to deliberately enlarge certain parts of the portrait and give it a fun, cartoonish look. We'll take a photo as a source. It's easier than drawing a caricature from scratch and will give us the ability to get realistic results.
Result
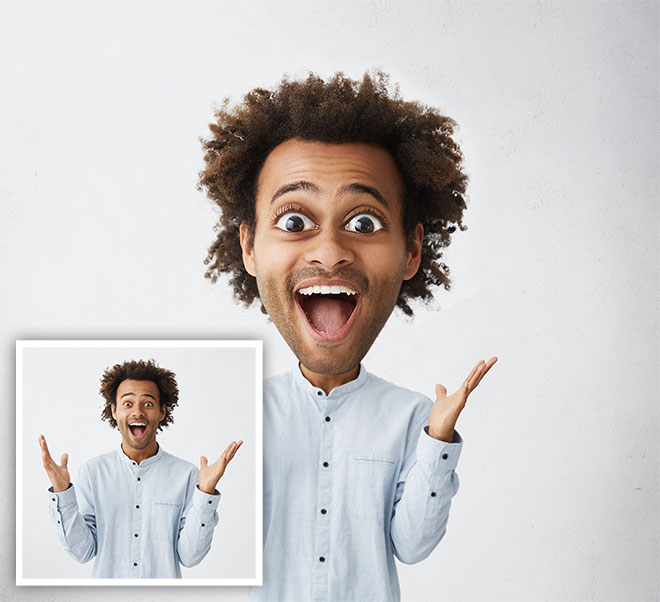
We'll make the head and eyes noticeably larger to create a caricature effect. Then we process the leather a little to get the effect similar to that of a plastic doll.

For best results, choose a photo with crisp details. For example, for this tutorial we used a photo from Wayhome studio from Shutterstock . Ideally, your cartoon character should have short, sleek hair that is easy to cut from the background. Or the background itself should be even and uniform, as in our case.
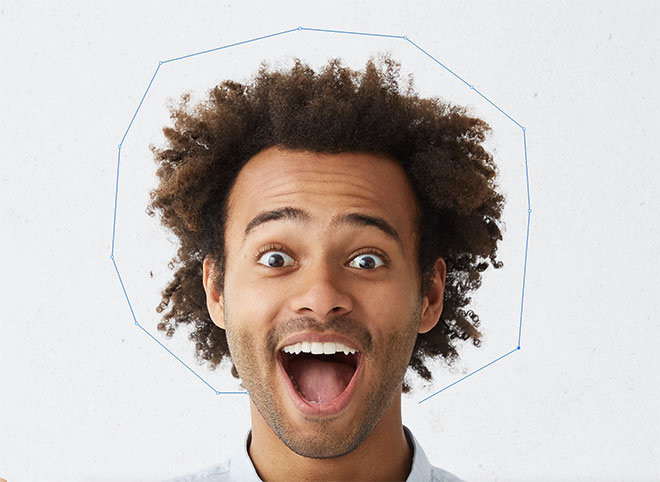
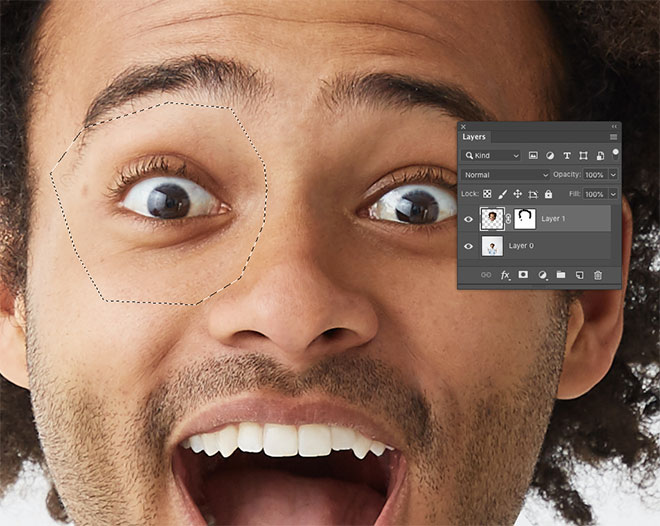
First, let's make the head bigger. Use the Pen Tool to create a selection. Start roughly around the area around your hair.
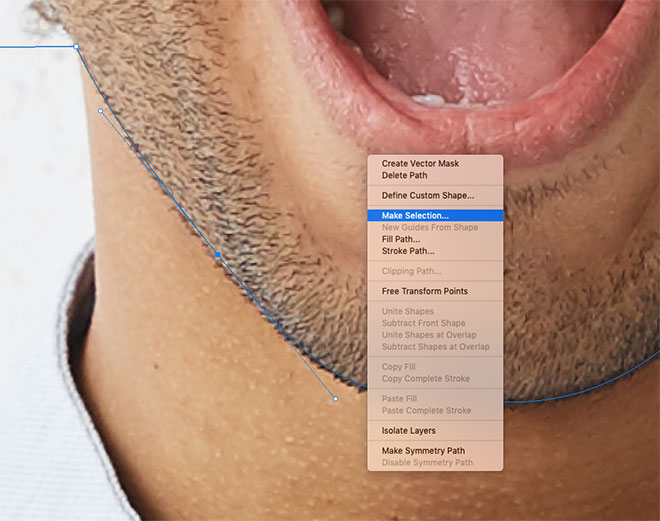
Then zoom in and use neat smooth lines to create a selection around the chin. Once the path is complete, right-click on it and choose Make Selection. Press CMD / Ctrl + C and CMD / Ctrl + V to copy the selection and paste it into a new layer.
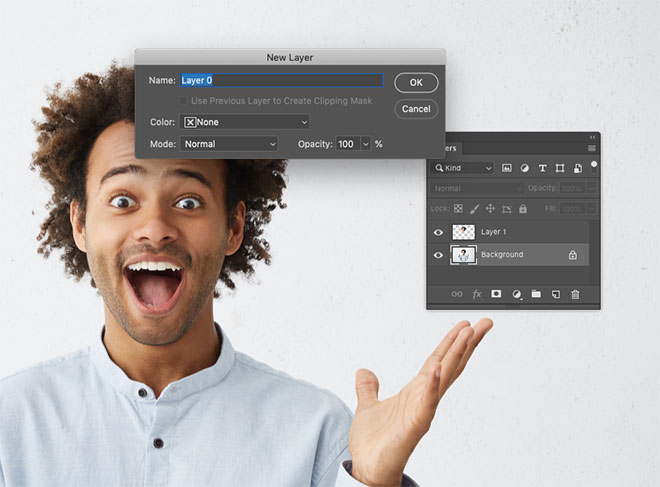
Double click on the background layer to unlock it and make it a regular layer.
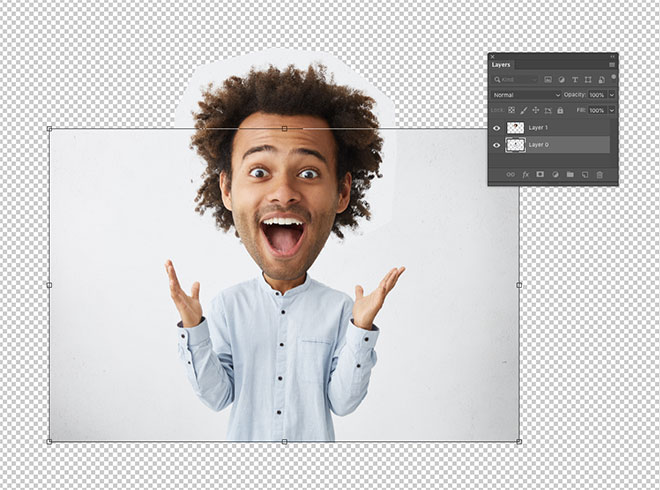
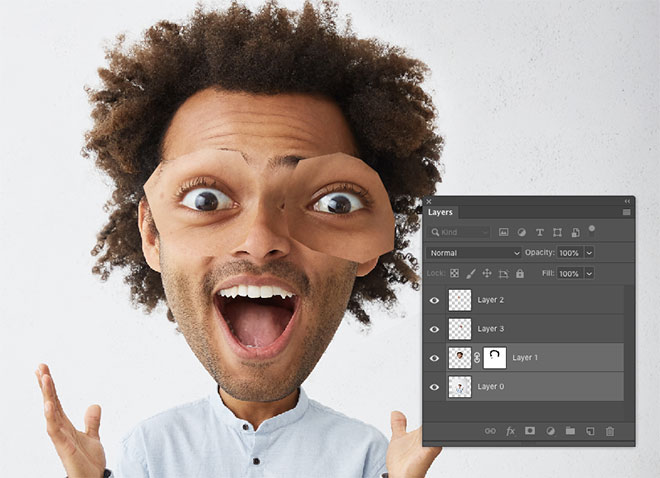
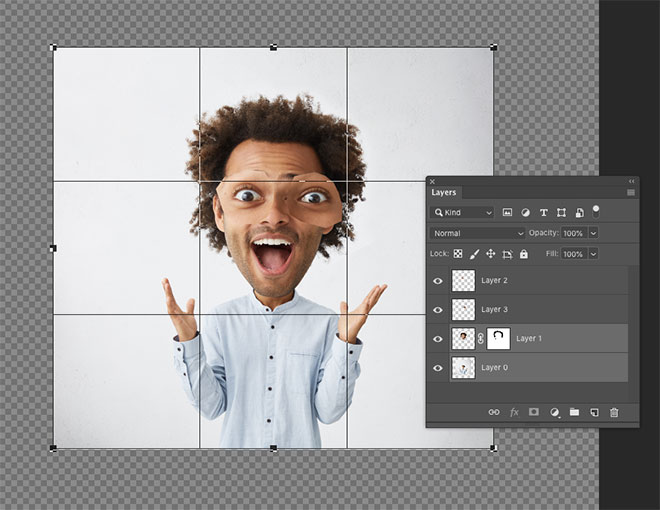
Instead of enlarging the head layer, we will shrink the background layer. This way we will not lose quality. Make the background layer active and use transform mode to make it smaller. To enter transform mode press CMD / Ctrl + T.
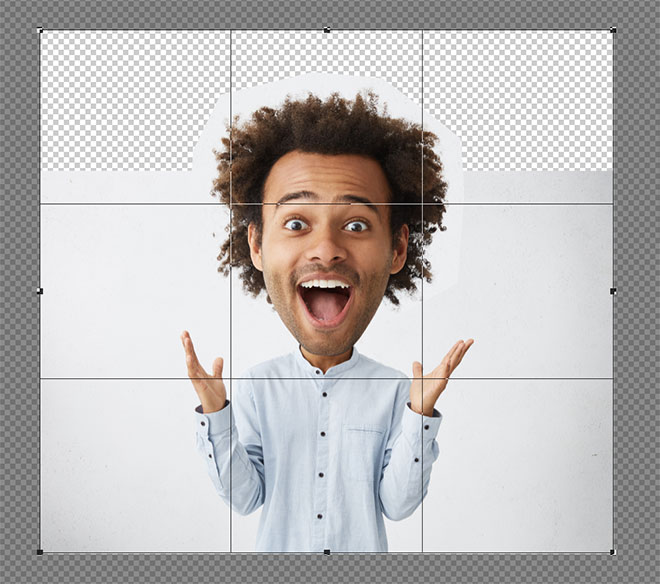
Use the Crop tool to remove unnecessary background.
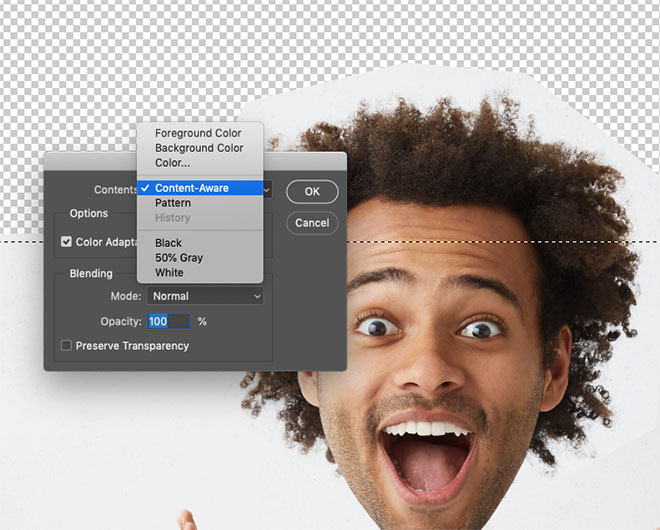
If it turns out that you have an empty space, select it and from the menu choose Edit> Fill / Edit> Fill. Select Content-Aware to get the background fill.
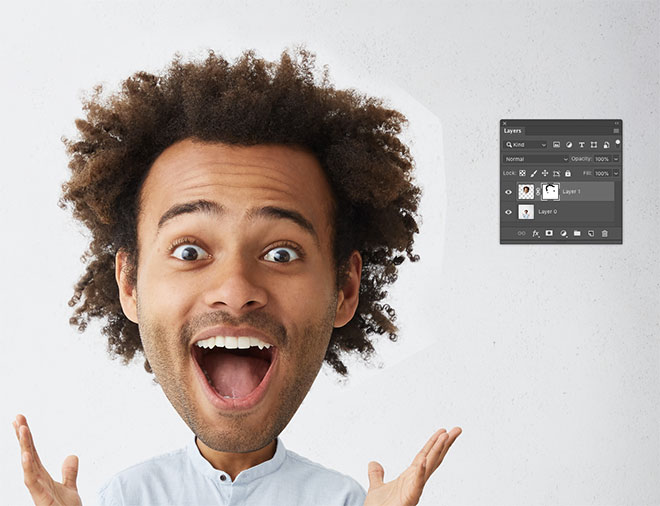
Give the head layer a mask and use a soft black brush in the mask to work on the edges to blend a clear transition.
Let's take care of our eyes. Make a rough selection and copy-paste it on a new layer.
Do this with both eyes. Select both layers with eyes and simultaneously scale them by pressing CMD / Ctrl + T.
Crop again / Crop the excess part of the picture.
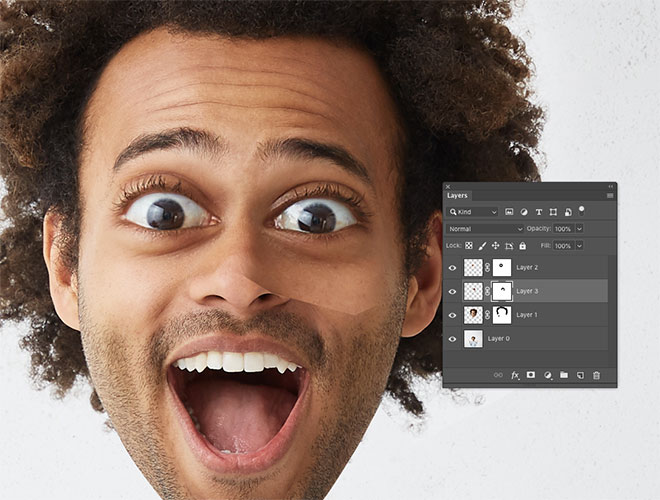
Place each eye layer in its place, and apply a mask to each layer. In the mask, use a soft black brush to paint over the sharp edges.
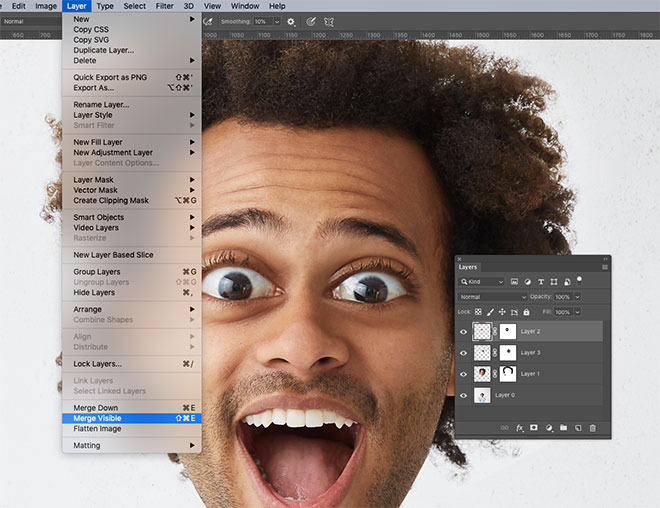
Go to the Layer menu, hold down ALT and click on the Merge Visible item to create a copy of all visible layers.
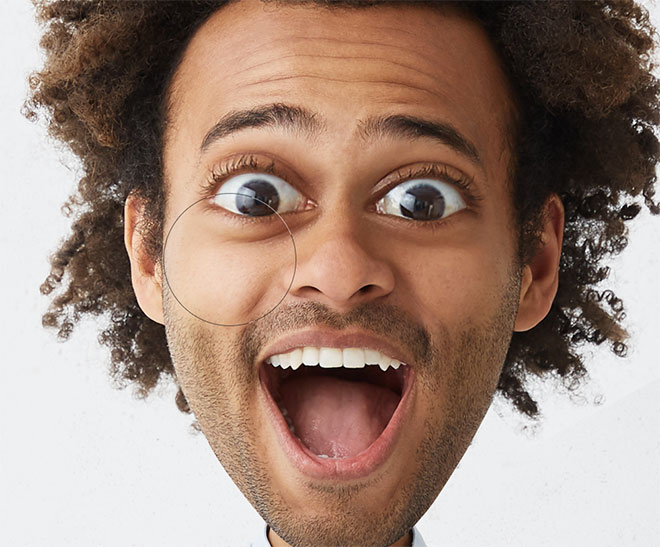
From the menu choose Filter> Liquify> Liquify and grab the Bloat tool. Use it to slightly enlarge the cheeks, nose, eyes and mouth. This will slightly distort the proportions.

Switch to the Forward Warp Tool and hypertrophy the facial expression a little. In our case, for example, you can raise your eyebrows to make your face look more surprised.
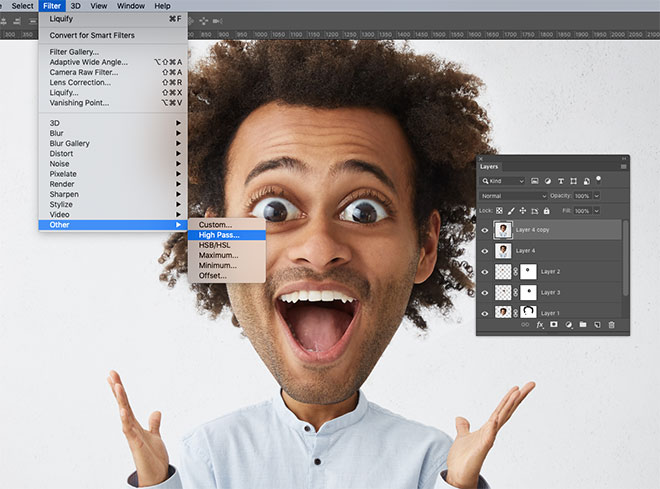
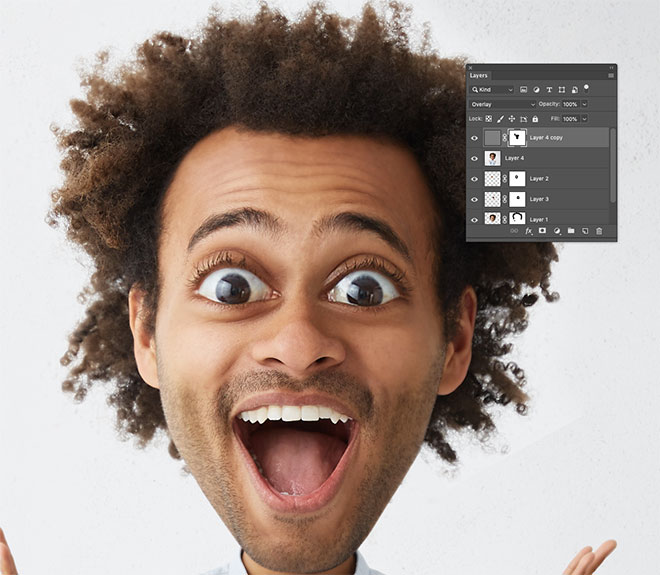
After applying the Liquify effect, press CMD / Ctrl + J to create a copy of the layer. From the menu choose Filter> Other> High Pass / Filter> Other> Color Contrast and enter 2px.
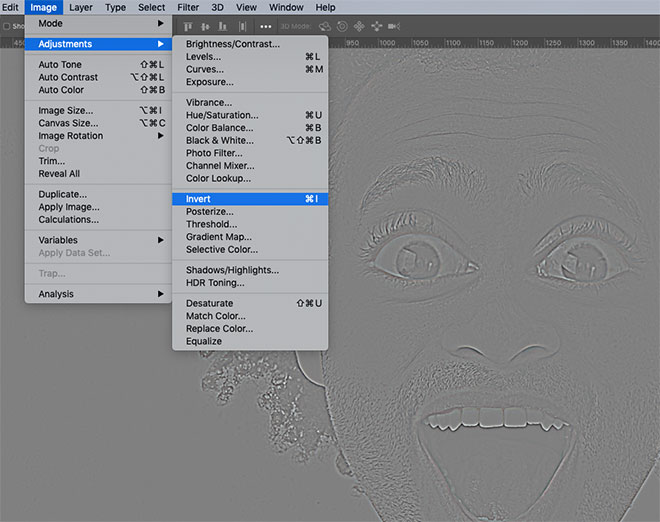
Invert the layer by pressing CMD / Ctrl + I.
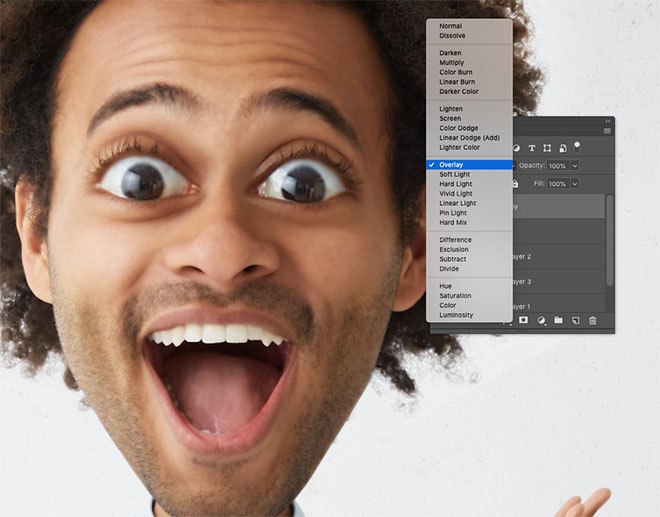
Set the blending mode to Overlay / Overlap. This will create a slight blur effect. But we want it to be invisible in places where facial features appear.
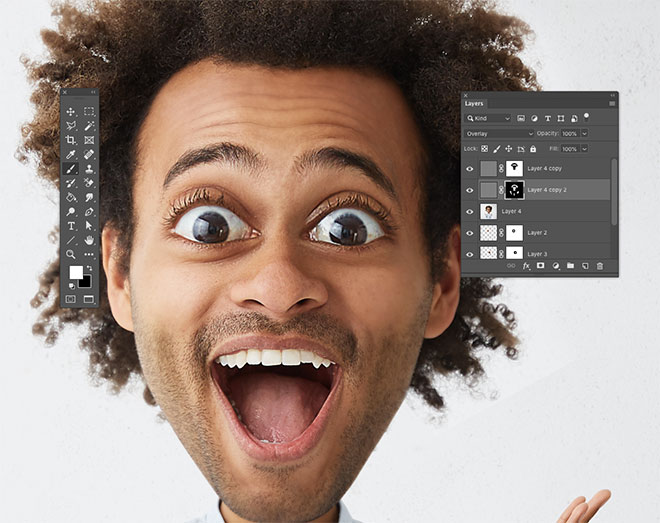
Add a mask to the layer and use a black brush to hide the effect above the eyes, nose, mouth and hair.
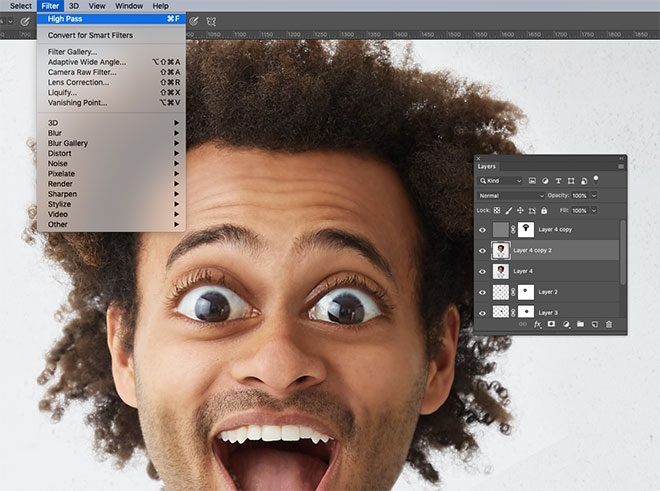
Make another copy from the Plastic filter layer. Also give it a High Pass / Color Contrast effect and set it to 2px.
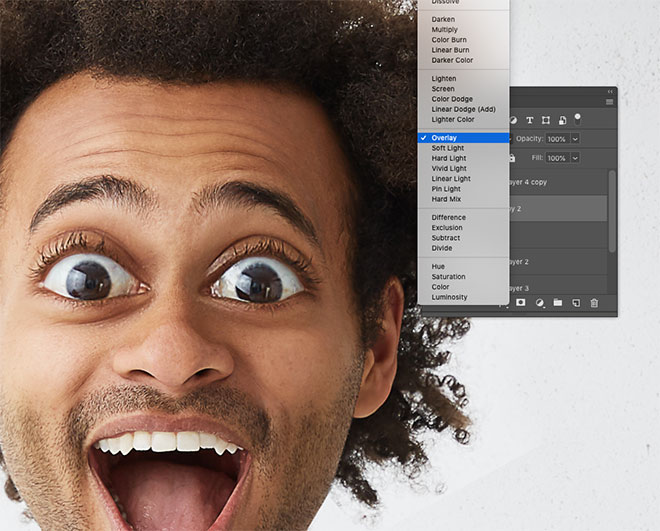
Don't invert the colors this time and set the layer to Overlay. This will sharpen the image.
Give the layer a mask and press ALT + Backspace to fill it with black. This will make the effect invisible. Now use a white brush to paint over the areas you want to sharpen: nose, mouth, eyes and hair.
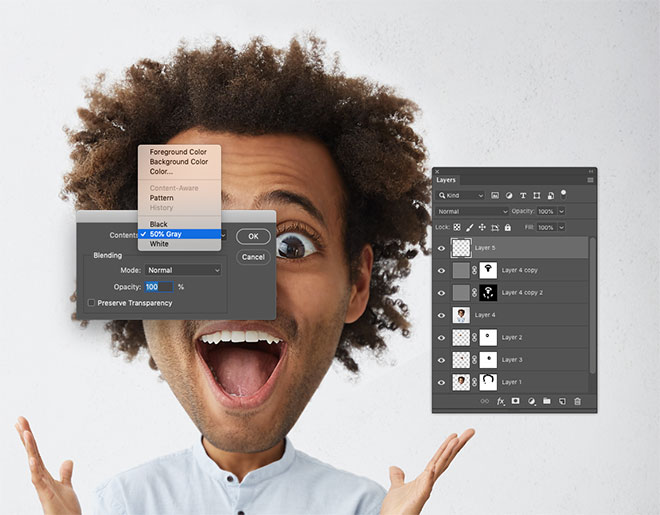
Create a new layer and choose Edit> Fill> Fill. Choose 50% Gray. Set the blending mode to Overlay / Overlap.

Take the Burn Tool and go through the dark parts of the image with Shadows mode at exposure / exposure at 20%.
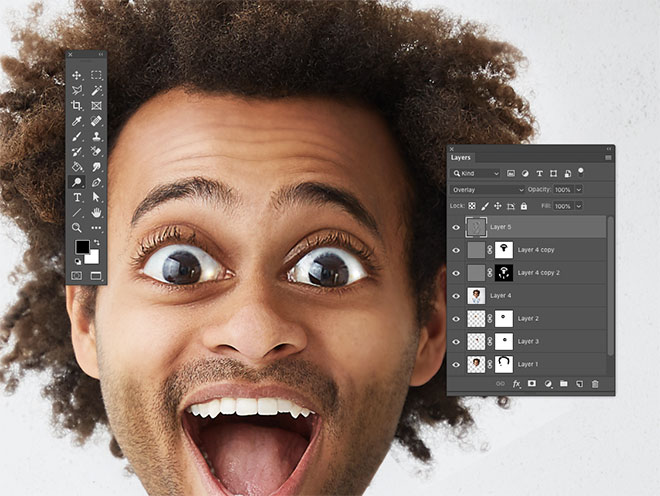
Take the Dodge Tool and in Highlights Mode, go over the highlights.
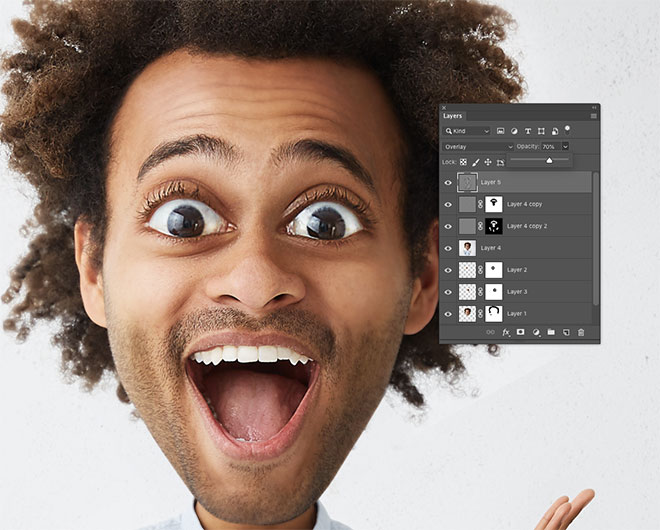
Lower the opacity of the layer for a more realistic effect.