Trending.bid Ad Campaign's Launch Guide
Welcome to the Trending.bid advertising network!
What types of traffic offers the network, how to set your first ad campaign – as well as other questions that we will discuss today.
Trending.bid is a long-established advertising network with global high-quality PUSH, CLICKUNDER and ONE-CLICK PWA traffic for a pleasant price.
What can you get with Trending.bid?
- 50+ BLN impressions for Push-Notifications;
- 25+ BLN impressions for Clickunder;
- CPC, CPM or CPI price model;
- Worldwide traffic from $0.001;
- Daily increasing subscription base;
- High-Quality traffic;
- Fast moderation;
- A wide kit of targeting options;
- Diff ways to top up the balance;
- Min deposit for Push-Notifications is 500 rubles (±$7);
- Min deposit for Clickunder is 3000 rubles (±$40).
Trending.bid has 4 ad types:
- Push-Notifications - a standart «push» for Mobile and Desktop (CPC/CPM);
- Clickunder - a site with your offer that opens in a new tab after clicking on any area of the site (CPM);
- On-Site Push - a pop-up banner at the bottom of the site that imitates push-notification (CPC/CPM);
- One-Click PWA - a classic web-app that is advertised using system Push-Notifications (CPI).
After we’ve sorted out basics – lets create an ad campaign using Push-Notifications type as an example.
14 simple steps to create a campaign in the advertising network Trending.bid
Step 1 - To create a campaign, go to the "CAMPAIGN" section and click the "Add campaign" button.

Step 2 - In the pop-up window put in the Title and Link. Click "Save".
All creatives in the campaign will inherit the URL by default.
Limits and postbacks apply to all creatives within the campaign.
In the campaign settings, you can:
- set up a postback;
- set limits on costs;
- set limits on impressions at the campaign level;
- set limits section of impressions per user.
You can set or change these parameters at any time.

Full step by step postback tutorial you will find here.
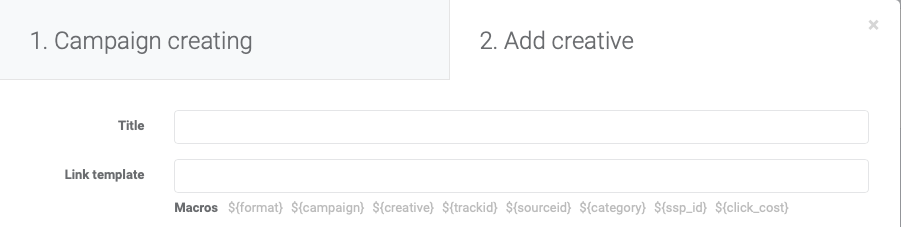
Step 3 - Pick the required ad type (we choose the Push-Notification type).

Add images and text:
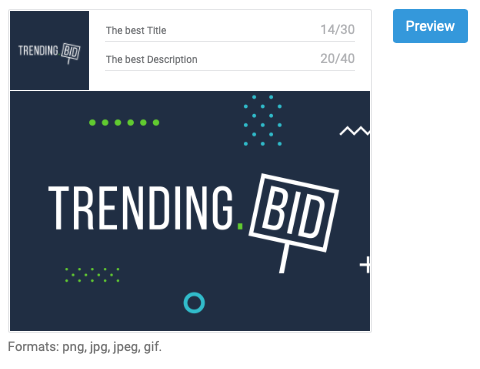
Preview:
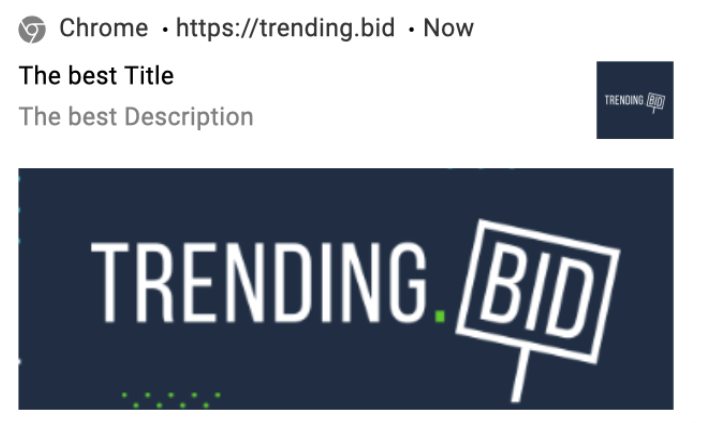
Current limits for text: up to 30 symbols in the title and up to 40 symbols in the description.
Current limits for image: icon size 192x192 (no more than 0.95 MB), image size 360x240 (no more than 0.95 MB).
Step 4 - Select the countries and cities in the tab “GEO”.
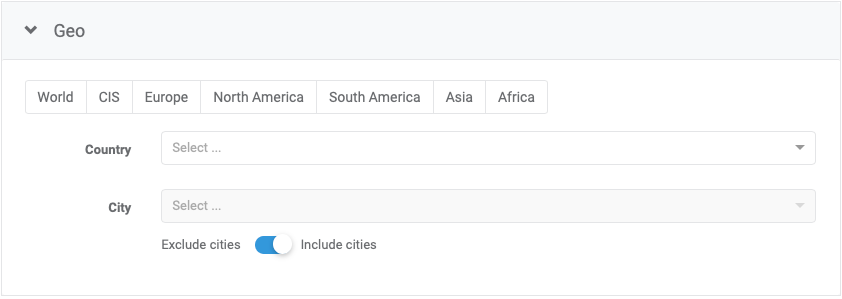
To target the cities of your selected countries in detail select "City".
Step 5 - Browsers.

To target your creative to all of the other browsers, that are not included in the list select “Undefined”.
Step 6 - Select the operating systems in the tab “OS”.

Step 7 - Subscription age.

Subscription age is targeting that allows selecting only those users who subscribed a certain number of days ago. Than recently the subscription, that higher the CTR, but the amount of traffic will be less.
Step 8 - Browser language.

The browser language will help you target specific national groups in the country.
Step 9 - Source category.

The source category is a site category that the user subscribed to Push-Notifications.
Here is some gender by category stats.
Step 10 - Set up the schedule for your offer in the tab “Schedule”.
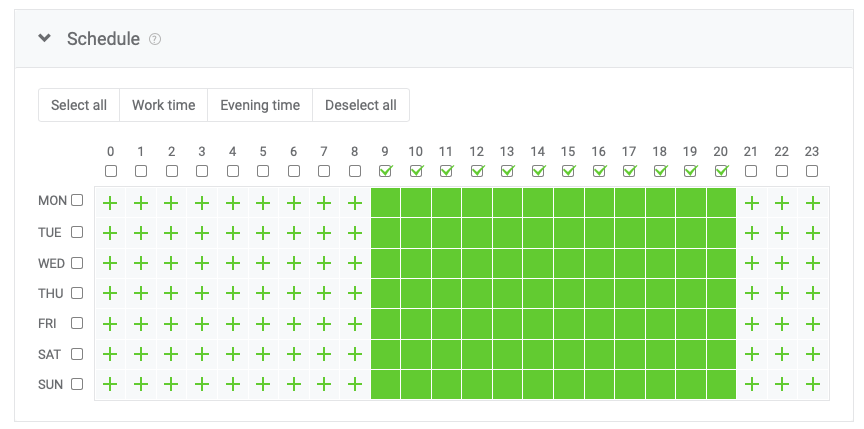
Please note that the time is set according to the local GEO time that you target. You don't need to count the time zone difference, ads will be sent to the user at the local time.
Step 11 - One of the most important steps is selecting a traffic source.

Trending.bid has a different sources: direct and external. External sources include sources that don't have their own traffic sales systems.
You can use the hints located next to each source (SSP) to help you pick the source:
1) Auction type:
- First Price – you pay exactly what you bid;
- Second Price – you pay the second price after your bid and the minimum auction step.
2) Type of traffic:
- On-Site Push – an additional type that looks like a Push-Notification inside the browser;
- Subscriptions allowed – subscriptions are allowed;
- No subscriptions – subscriptions are not allowed;
- CPC only - available only under the CPC pricing model.
We recommend to run separate creatives on each source (SSP) that you want to test
To narrow down the target you can use black and white lists by entering the ID of the sources that you want to include or exclude. To determine the source ID, you can pass "${sourceid}" to the link or use our statistics in your account (sort by sourceid).
Step 12 - Pick the pricing model and enter the bid in rubles.

CPM – Cost Per Mile
CPC – Cost Per Click
Step 13 - Add the limits for the following settings:
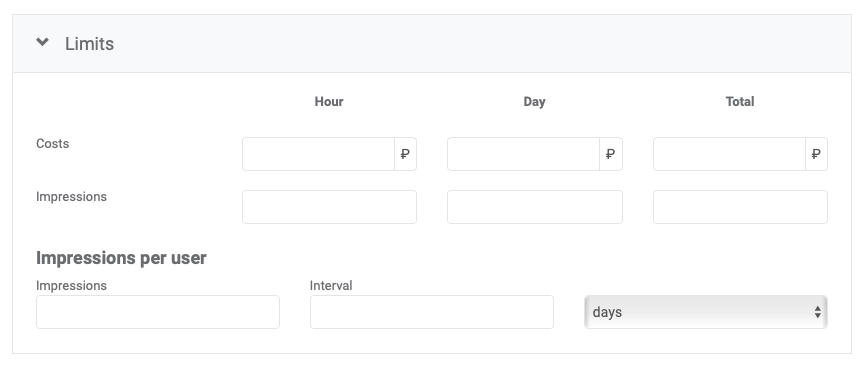
You can set limits (in money or impressions) per hour, day, or total, as well as adjust the number of impressions per user.
Step 14 - Read our policy, check the box and click the green "Add" button. After that, your creative will automatically be sent to moderation.

Note: we don't moderate creatives form zero balance account, to send your creative to moderation, you should top up your balance. If the creative was added before your first top up, then click the "Launch" button in the list of all creatives to send your creative to moderation.
If you need to change the settings click the "Edit" button with the pencil icon.
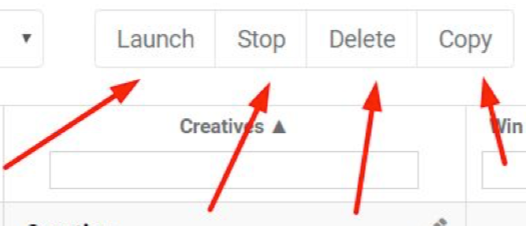
After moderation, you may either stop, launch, copy or delete the creative. Just click on the checkbox and select the required action.