Ricing your *nix desktop | Window managers

Window managers allow you control where to place frames (or windows) and how they look in a graphical user interface. The two main classes of window managers are tiling window managers and floating window managers.
Since everyone has different preferences and workflows, choosing a window manager should be a personal decision made uppon your needs.
- Tiling window managers display layouts in non-overlapping frames named tiles. Those layouts cane be predefined but they can be defined and modified manually.
- Floating window managers display frames in the "traditional desktop idea" used in commercial operating systems like Windows and OS X. Frames act like pieces of paper on a desk, and can be stacked on top of each other.
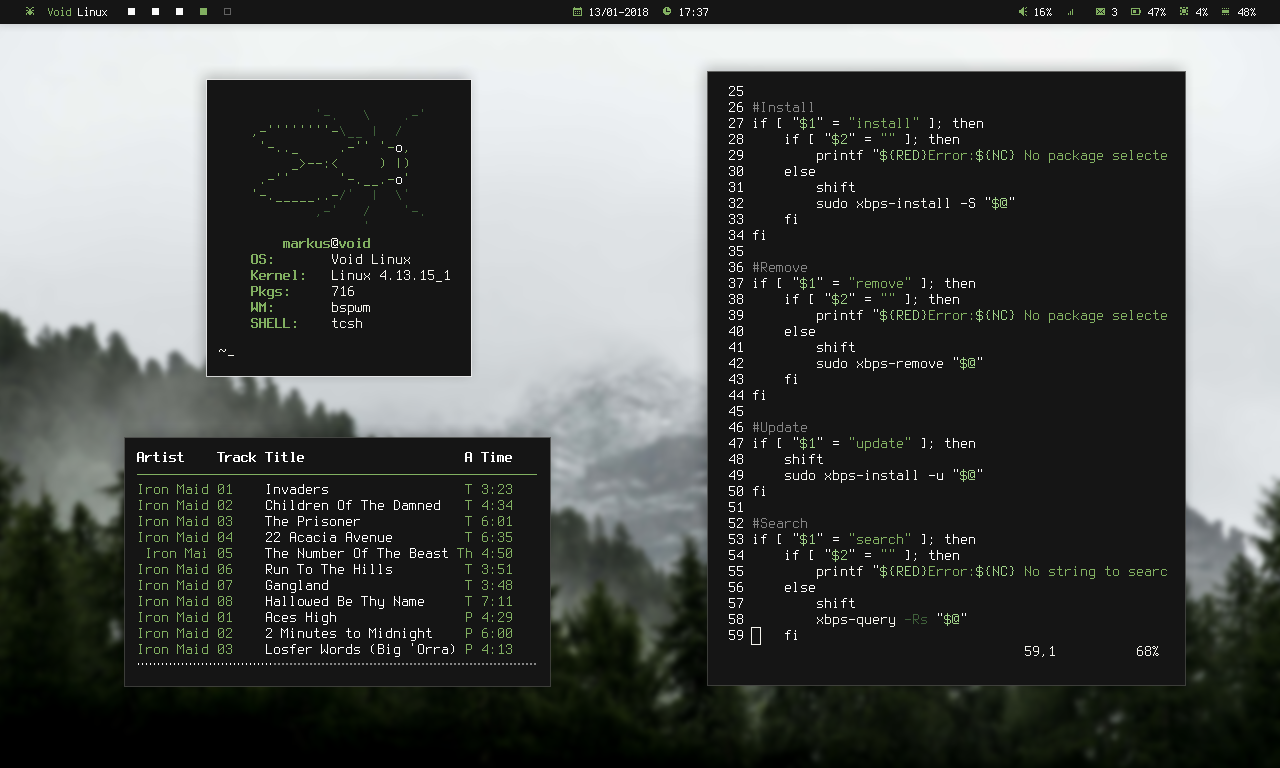
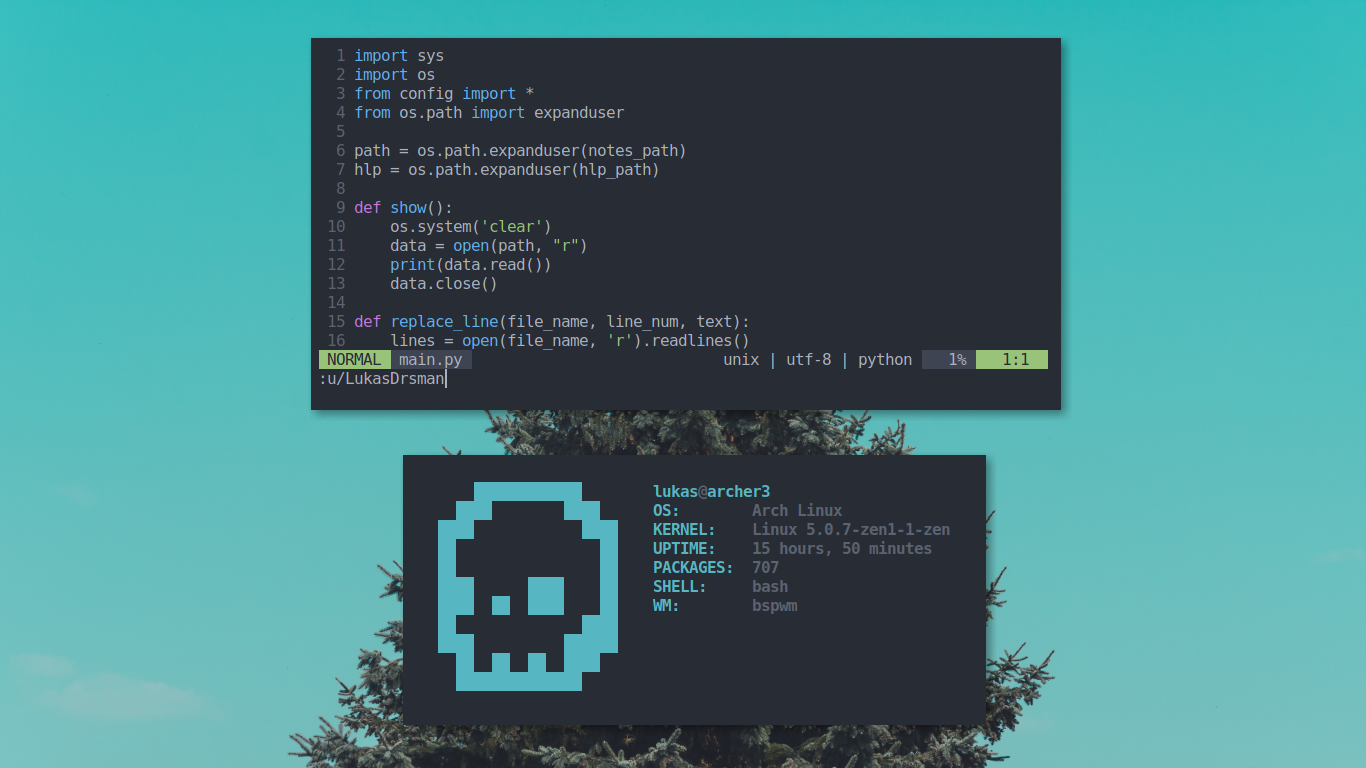
In the case of this guide, bspwm is a tiling window manager with options to make floating frames that don't stack in the tiling layout.
Right now if we don't have any desktop environment or window manager installed, after a clean installation we should be looking at the tty (the computer terminal). In order to reach our desktop we need to install a display server, named xorg.
In most cases your system is going to have xorg in their resources, so you should be able to install by just typing:
# install_command xorg
Where "install_command" is the one your system has. ( pkg install for freeBSD, apt-get install for Debian based, etc.)
For extra functionality, you can install the following packages if your system's xorg main package doesn't have them included:
xloadimage xsetroot xrdb
In our $HOME directory we need to create two dotfiles to configure the x system. The first one is .xinitrc and the second one is .Xresources.
$ touch .xinitrc
$ touch .Xresources
The .xinitrc file launches the desktop. It's a simple script called by the startx command.
Here's a basic .xinitrc file structure:
#!/bin/sh
# ~/.xinitrc

# load .Xresources

# set background wallpaper (if wanted)

# set default cursor

# start the simple X hotkey daemon

# launch status bar

# launch a terminal by default

# spawn window manager
Let's edit the file (from the tty you can run vi. vim, nano(if in linux) or ee(if in BSD)).
Note that your .xinitrc file will be empty without the comments.#!/bin/sh # ~/.xinitrc # load .Xresources xrdb -merge ~/.Xresources # set background wallpaper (if wanted) xsetbg -fullscreen /path/to/your/wallpaper.png & # set default cursor xsetroot -cursor_name left_ptr & # start the simple X hotkey daemon sxhkd & # launch status bar # launch a terminal by default # spawn window manager exec bspwm
We didn't fill all the comments in the file, but we'll come to those later.
Right now we cannot launch our desktop yet since the packages for the hotkey daemon and the window manager aren't installed. Most of the *nix derivations have bspwm into their packages' repo so you should be able to install by just typing:
# install_command bspwm
It requires some dependencies to work, specially note sxhkd. Your package manager should take care of the dependencies. If you opt to install bspwm from source you can look into the Makefile for the needed libs, or look into the make log if installation stops during the proccess.
bspwmrelies insxhkdto handle keyboard and pointer inputs.
After the installation, we need to create two sub-directories in our .config directory; one for bspwm and another one for sxhkd.
$ mkdir -p .config/{bspwm,sxhkd}
Inside .config/bspwm we need to create the configuration file for bspwm which is an executable shell script named bspwmrc.
$ touch .config/bspwm/bspwmrc
# chmod +x .config/bspwm/bspwmrc
Here's a basic bspwmrc file structure:
#!/bin/sh

# --monitors--
bspc monitor -d I II III IV

# --window managment--
bspc config border_width                0
bspc config window_gap                  4
bspc config split_ratio                 0.50

bspc config single_monocle              false
bspc config borderless_monocle          true
bspc config gapless_monocle             false
bspc config paddingless_monocle         false

bspc config focus_follows_pointer       true
bspc config pointer_follows_monitor     true
bspc config pointer_modifier            mod1
bspc config pointer_action1             move
bspc config pointer_action2             resize_side
bspc config click_to_focus              any
bspc config swallow_first_click         false
bspc config initial_polarity            first_child
bspc config ignore_ewmh_focus           true


# --rules--
bspc rule -a Firefox desktop='^2' follow=on focus=on
This will give some "default" configuration for the window manager.
- Monitors' section allows you to define how many workspaces you want. The example has 4 monitors but you can extend them.
- Window managment's section contains several config variables. Most of them are self-explanatory but you can learn more about the config variables in the bspwm documentation here.
- Rule's section is also self-explanatory but syntax description is available here.
I encourage you to tweak it to fit your needs and workflows.
The same way we need a configuration file for sxhkd. Inside .config/sxhkd create a file named sxhkdrc.
$ touch .config/sxhkd/sxhkdrc
Here's an example file for sxhkd:
The super key by default refers to the key launcher from your keyboard, usually the one with the Windows or MacOs logo.#
# wm independent hotkeys
#
# terminal emulator
super + Return
#terminal_name
# program launcher
super + @space
#program_launchers_name
# make sxhkd reload its configuration files:
super + Escape
pkill -USR1 -x sxhkd
#
# bspwm hotkeys
#
# quit/restart bspwm
super + alt + {q,r}
bspc {quit,wm -r}
# close and kill
super + {_,shift + }w
bspc node -{c,k}
#
# state/flags
#
# set the window state
super + {t,shift + t,s,f}
bspc node -t {tiled,pseudo_tiled,floating,fullscreen}
# set the node flags
super + ctrl + {m,x,y,z}
bspc node -g {marked,locked,sticky,private}
#
# focus/swap
#
# focus the node in the given direction
super + {_,shift + }{h,j,k,l}
bspc node -{f,s} {west,south,north,east}
# focus the node for the given path jump
super + {p,b,comma,period}
bspc node -f @{parent,brother,first,second}
# focus the next/previous node in the current desktop
super + {_,shift + }c
bspc node -f {next,prev}.local
# focus the next/previous desktop in the current monitor
super + bracket{left,right}
bspc desktop -f {prev,next}.local
# focus the last node/desktop
super + {grave,Tab}
bspc {node,desktop} -f last
# focus the older or newer node in the focus history
super + {o,i}
bspc wm -h off; \
bspc node {older,newer} -f; \
bspc wm -h on
# focus or send to the given desktop
super + {_,shift + }{1-9,0}
bspc {desktop -f,node -d} '^{1-9,10}'
#
# preselect
#
# preselect the direction
super + ctrl + {h,j,k,l}
bspc node -p {west,south,north,east}
# preselect the ratio
super + ctrl + {1-9}
bspc node -o 0.{1-9}
# cancel the preselection for the focused node
super + ctrl + space
bspc node -p cancel
# cancel the preselection for the focused desktop
super + ctrl + shift + space
bspc query -N -d | xargs -I id -n 1 bspc node id -p cancel
#
# move/resize
#
# expand a window by moving one of its side outward
super + alt + {h,j,k,l}
bspc node -z {left -20 0,bottom 0 20,top 0 -20,right 20 0}
# contract a window by moving one of its side inward
super + alt + shift + {h,j,k,l}
bspc node -z {right -20 0,top 0 20,bottom 0 -20,left 20 0}
# move a floating window
super + {Left,Down,Up,Right}
bspc node -v {-20 0,0 20,0 -20,20 0}
It's quite long but in the end we're configuring the desktop as our wish. Note that the first key combinations (the ones for launching the terminal and the program launcher) have comments in the action space. We'll add our program names once we install them.
Following the syntax scheme you can add your own key combination to launch the program you want.