Ricing your *nix desktop | VIM

No matter what end task you give to a computer, you're always going to use a text editor somehow. In *nix systems there are a couple of niche text editors that are in everyone's lips, Emacs and Vim.
Emacs and Vim can work from the terminal emulator and stand out fromnanoandeesince they're way more complete and extensible.
Complete text editors give you the ability to write from a cooking recipe to source code for a complete software project.
— Nowadays is common to see software development being created not only inside IDEs but in advanced text editors too, mostly thanks to extensions those editors have and the portability they provide.
The most trending graphical text editors are Atom and VSCode. If you open a fresh installation of Emacs or Vim and compare both to Atom, SublimeText or VSCode without modifying anything it's hard to believe that a plain blank text editor standing in a terminal emulator can be a total replacement for a GUI one, but here we are to change that point.
In this guide we are going to work with Vim so let's start by getting it. In FreeBSD grab the pkg named vim-console.
$ doas pkg install vim-console
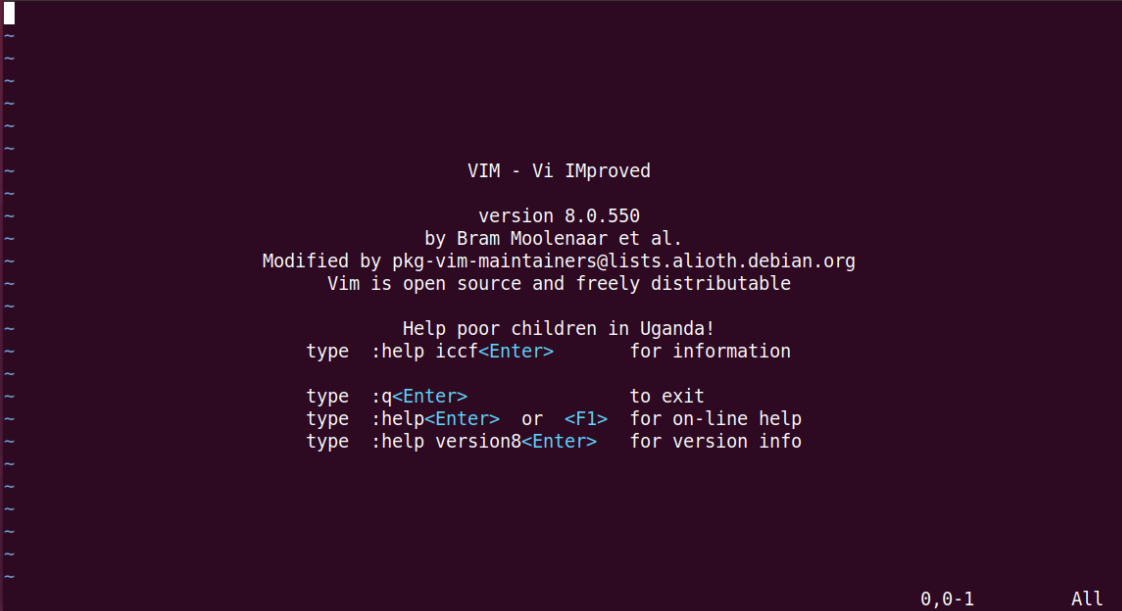
In order to launch it, simply type vim in a terminal emulator. It'll open a blank instance of the editor.
Navigating Vim basics
Vim doesn't behave as other text editors. You may think "alright we are done here" the first time you try to write into a file and nothing but strange stuff happens or when you try to save the file and the command ctrl+s doesn't work.
The point is once you learn how to navigate vim, most likely you're going to love it.
Vim is operated through modes. Three basic modes inside vim are normal, insert and visual.
--NORMAL--let us open and write files, close the vim editor and allow key commands to enter other modes. You can access this mode by hitting theesckey.--INSERT--let us jump into editing the file by hitting theikey.--VISUAL--let us copy and paste parts of our text. While in--NORMAL--mode, hitvto access it.
You can check which mode you're in by looking to the bottom left of vim.
There are a lot of keys and key combinations to do a lot of stuff (really a lot) but for now, let's keep it simple.
While in --NORMAL-- mode, you can use the following keys to do some basic actions (simply start typing and look at the bottom bar):
:ulet us undo what we just did.:ofollowed by a file name, opens that file.:wwrites the actual file.:qquits vim.
You can quit without saving adding the ! symbol after the :q like this :q!
— The way to navigate trough text can be achieved with h, j, k and l keys or using the arrow keys.
Copy and paste work inside --VISUAL-- mode. Once you're in the mode you'll notice that when moving the cursor around (h, j, k, l) is highlighting text. That's our text selection.
dwill delete or cut our text selection.ywill yank or copy our text selection.ppastes our previously cut or copied text at the cursor location.
Adding a config file
Now we know how to navigate over the program, we're here to rice. As in most programs inside *nix, vim can also be configured using a .*rc file. Let's create a .vimrc config file inside our home directory:
$ cd
$ vim .vimrc
Now, entering the --INSERT-- mode let's add the following lines
"main sets

"auto-close pairs

"tab indenting

"vim-plug start

"plugin config lines
Lines starting with " are comments. We are going to fill the commented lines through the guide.
Adding basic rules
In .vimrc we can use the word set to tell Vim to behave in a certain way. Let's tell Vim to use up to date workflows. After "main sets add:
set nocompatible                "use vim settings instead of vi ones
let g:is_posix = 1
set autoindent                  "always set autoindent on
set autoread
set backspace=indent,eol,start  "allow backspaceing over everything
set belloff=all
set nowrap
set history=100
set hlsearch                    "highlight last used search pattern
set incsearch                   "do incremental searching
set ruler                       "show cursor's position all the time
set ttyfast
set wildmenu
set number                      "display line number
set tabstop=4                   "tabs are 4 spaces wide
set encoding=utf-8              "default encoding syntax
set mouse=a                     "scroll with mouse
syntax on                       "sets syntax highlighting on
Adding auto close brackets
The trick is pretty simple. We have to tell the editor to duplicate the desired symbol. Add the following after "auto-close pairs in your .vimrc file:
inoremap " ""<left>
inoremap ' ''<left>
inoremap ( ()<left>
inoremap [ []<left>
inoremap { {}<left>
inoremap < <><left>
You can add any symbol you need following that pattern.
Adding Tab indenting
Tab indenting (in/out) already exists in Vim, and it works. If we want to indent in or out multiple lines it can be achieved in several ways. An easy way is to add the following to your .vimrc file:
vmap <Tab> >gv
vmap <S-Tab> <gv
Adding plugins
While you can get vim doing almost every thing without using plugins, life's short and unless your desire is to hardcore learn vim (which is a really good point) you'll probably want to use vim as a tool to simplify your life while coding software, writing articles or books, etc. and to do so you need to configure vim.
Configuring vim can take a long time, so plugins are quite handy here.
There are some ways to install plugins in Vim and the most recent versions of Vim already have an integrated plugin manager. In this guide we're going to use a plugin manager named VimPlug.
To install VimPlug run the following command in your terminal emulator:
curl -fLo ~/.vim/autoload/plug.vim --create-dirs \
    https://raw.githubusercontent.com/junegunn/vim-plug/master/plug.vim
After doing it open your .vimrc file. Let's fill the instructions for VimPlug after "vim-plug start:
call plug#begin()

call plug#end()
Now we can fetch plugins from the web and make them run inside Vim. The website vimawesome has a nice collection of vim plugins from around the net along with installation instructions for several plugin managers.
To install a plugin with VimPlug from github, add the following line between call plug#begin() and call plug#end():
Plug 'user-name/plugin-repo-name'
And then type:
:source %
:PlugInstall
Most common plugins to have in mind are:
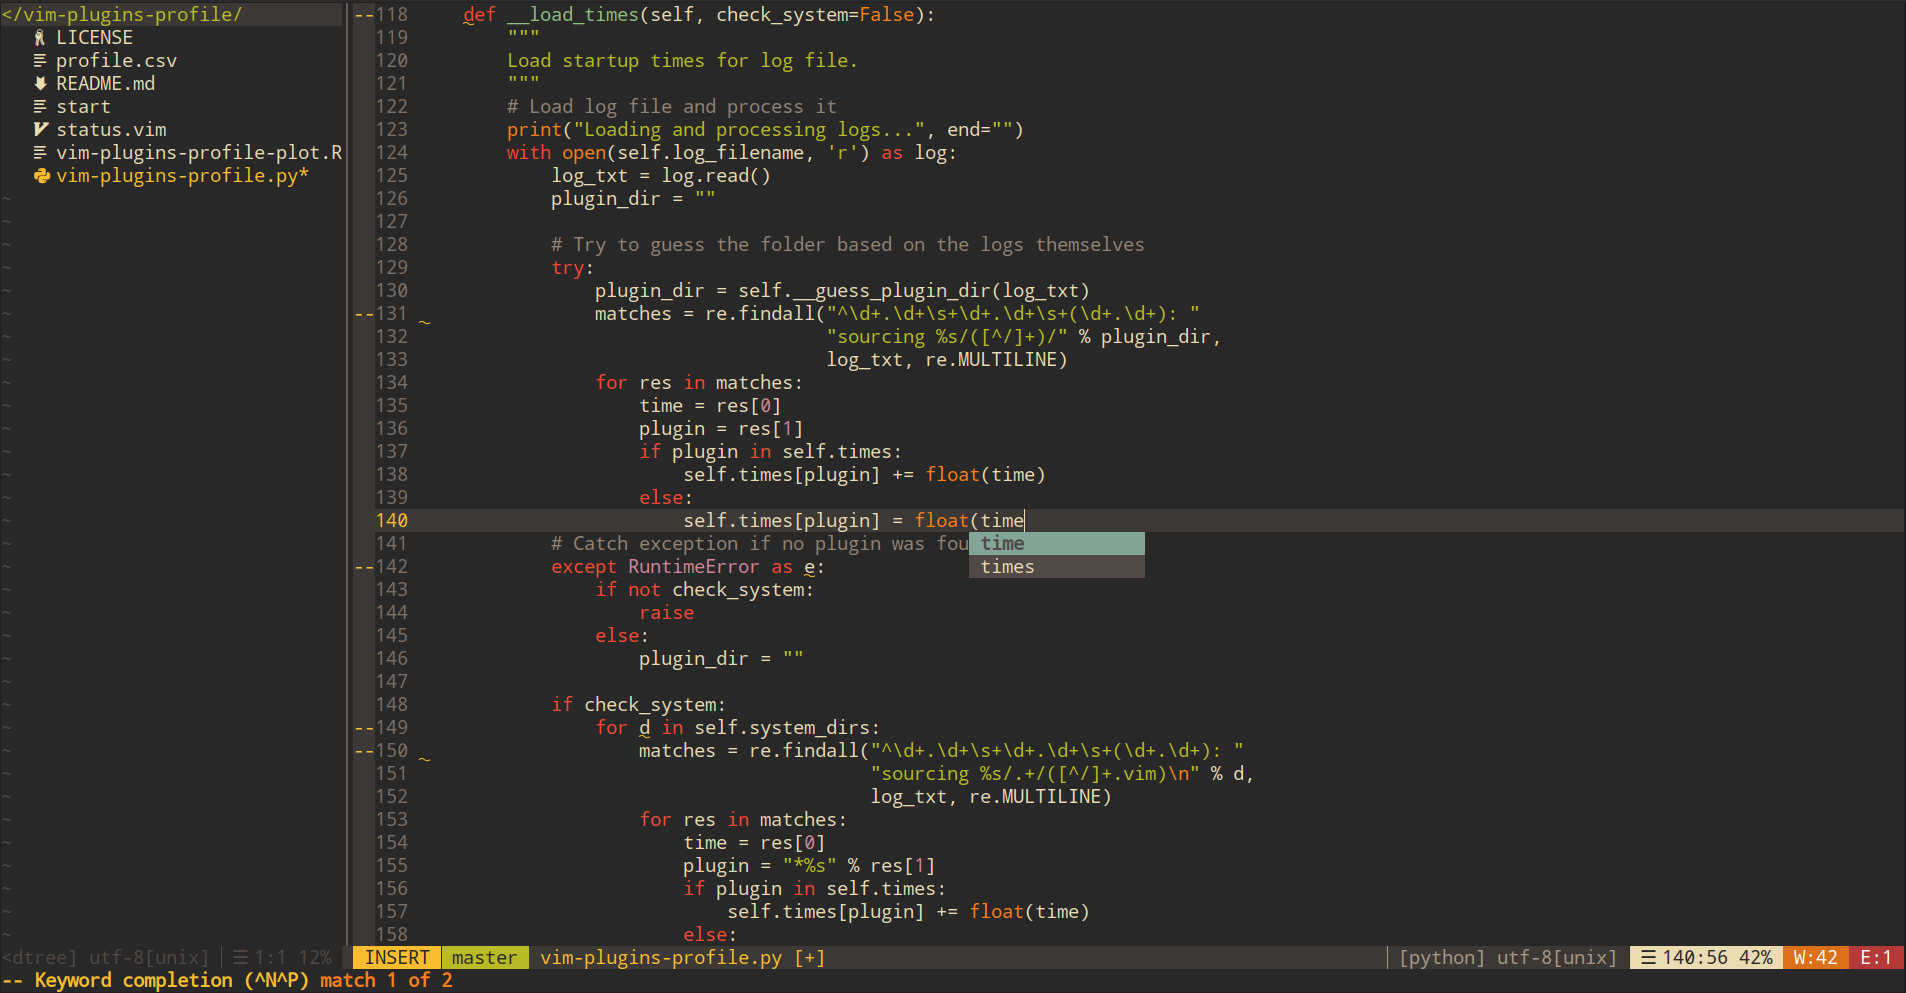
- autocomplete plugins to speed up code writing.
YouCompleteMe,VimCompletesMeandCoCare cool choices.
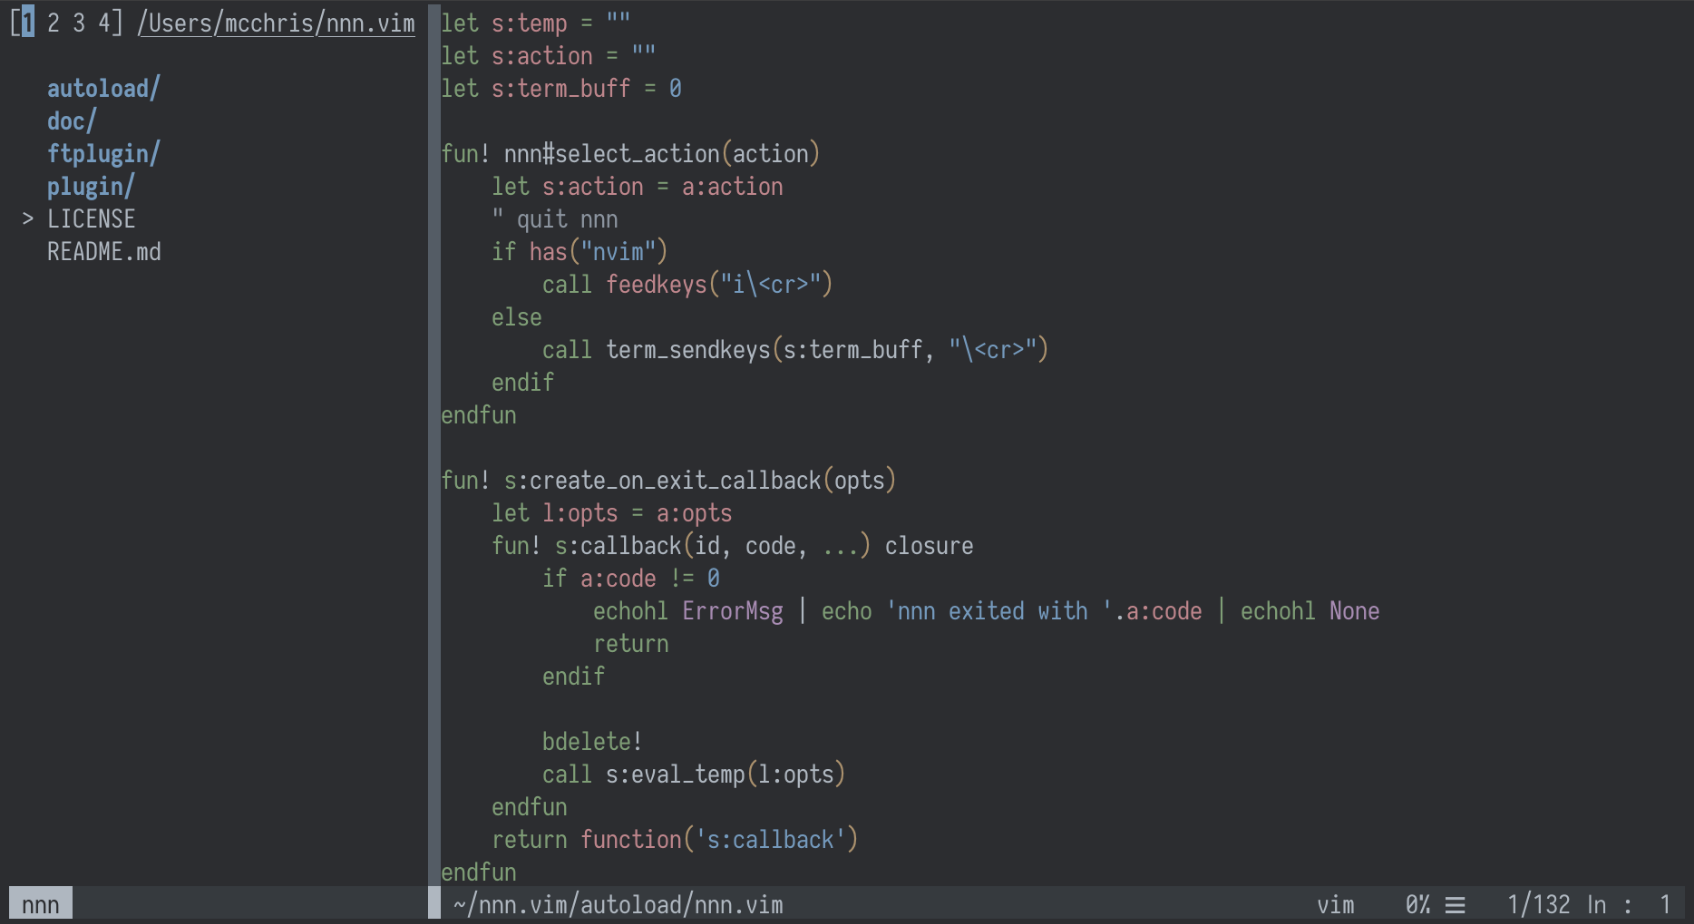
- file explorer plugins let's us have a section of the editor dedicated to show our files and directories.
NerdTREE,nnn.vim,CtrlPorFzFare good for this job. You can use the defaultnetrwfile explore. While in--NORMAL--mode try typing:
:Vex
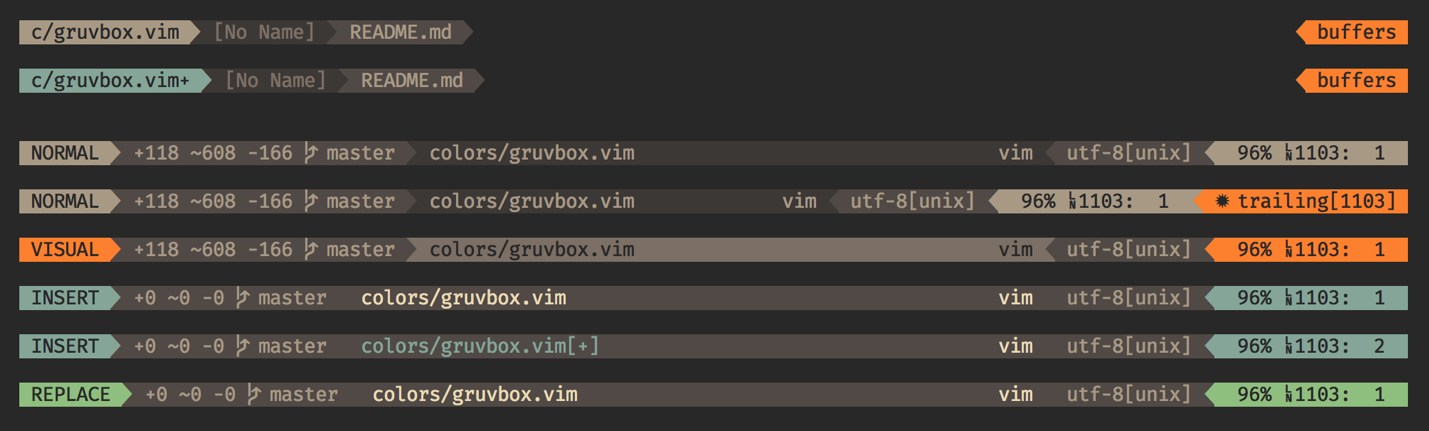
- bar plugins prettify info at the bottom of the editor. Try
LightlineorVim-Airline.
- Other cool stuff to check are "zen modes" and "focus modes". The
goyoandlimelightplugins are great to give a focus feeling while coding.
Each plugin can receive special instructions and customization after being installed. We and add specific configs after "plugin config lines inside our .vimrc file. You can also extend Vim writing your own plugins to cover specific needs via Vimscript, Lua or Python.
Changing colors
You can add color schemes to Vim in order to highlight code the same way as plugins via VimPlug. The colorswat and vimcolors sites have some cool color references for vim.
In addition to the specific language syntax colors, you can change the color of Vim's UI elements. Check your actual vim element highlight colors typing:
:so $VIMRUNTIME/syntax/hitest.vim
Beyond coding
The Vim text editor can do more. You can use it to write books, documentation, university papers, etc. thanks to plugins that extend the program's possibilities. Plugins like vim-pencil , vim-pandoc, vimwiki, neotex or vim-latex help with content creation different to coding. You can check a guide here about configuring Vim for writing.
Having a PDF viewer like Zathura allow us to have live previews on what we're working using plugins like neotex.
Summing up
Vim has a longer learning curve, and setting up all the plugins you may need can be time consuming. But Vim has it's good things too. Vim removes superficial presentation to reveal substance. Vim can work in your favorite terminal emulator, in a tty, and mainly anywhere so there's no compatibility problems if you have to use different computers. Vim doesn't deal with program versions in order to tell you if a file can be opened or not 'cause it was created in an earlier version. Vim is fast and it gets the job done, plus it's super easy to customize and rice which is part of our goal in this guides (: