Ricing your *nix desktop | Final tweaks

During the last four episodes we've been creating a whole functional desktop customized for our personal use. Now let's add some final tweaks and tools in order to give our desktop a more polished look.
Most of the programs and tools mentioned in this section are not required in order to run the system so depending on your needs you may choose whether to install them or not.
Background images
Blank backgrounds, specially in tiling window managers aren't that bad since there are few chances to notice there's no image behind. But image or color backgrounds usually give ricing a great mood.
Feh is a lightweight image viewer that can set up a background for us in a super easy way.
Open a terminal emulator instance and type the following replacing the image path with yours:
$ feh --bg-fill /path/to/image.file
And in order to keep the image the next time a session is started, add ~/.fehbg & to your .xinitrc file.
Shadows
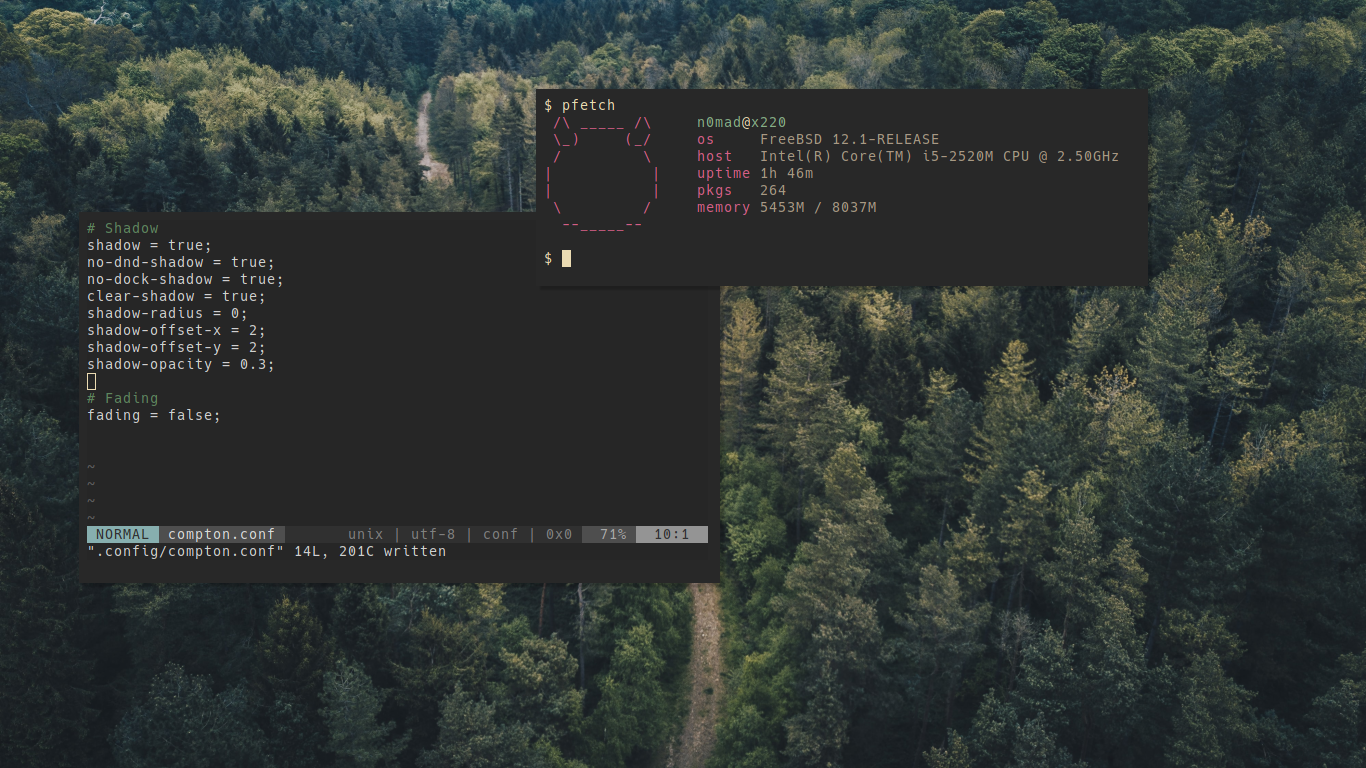
A cool feature that improves our desktop mood are shadows. Compton can add shadows to our window frames among other things.
After installing it, you can configure how shadows are drawn by creating a compton.conf file inside your .config directory and passing that file through the bspwmrc script.
# compton.conf

# Shadow
shadow = true;
no-dnd-shadow = true;
no-dock-shadow = true;
clear-shadow = true;
shadow-radius = 0;
shadow-offset-x = 2;
shadow-offset-y = 2;
shadow-opacity = 0.3;

# Fading
fading = false;
And in our bspwmrc file we just have to call compton like this:
# bspwmrc

# ---compton
compton -b
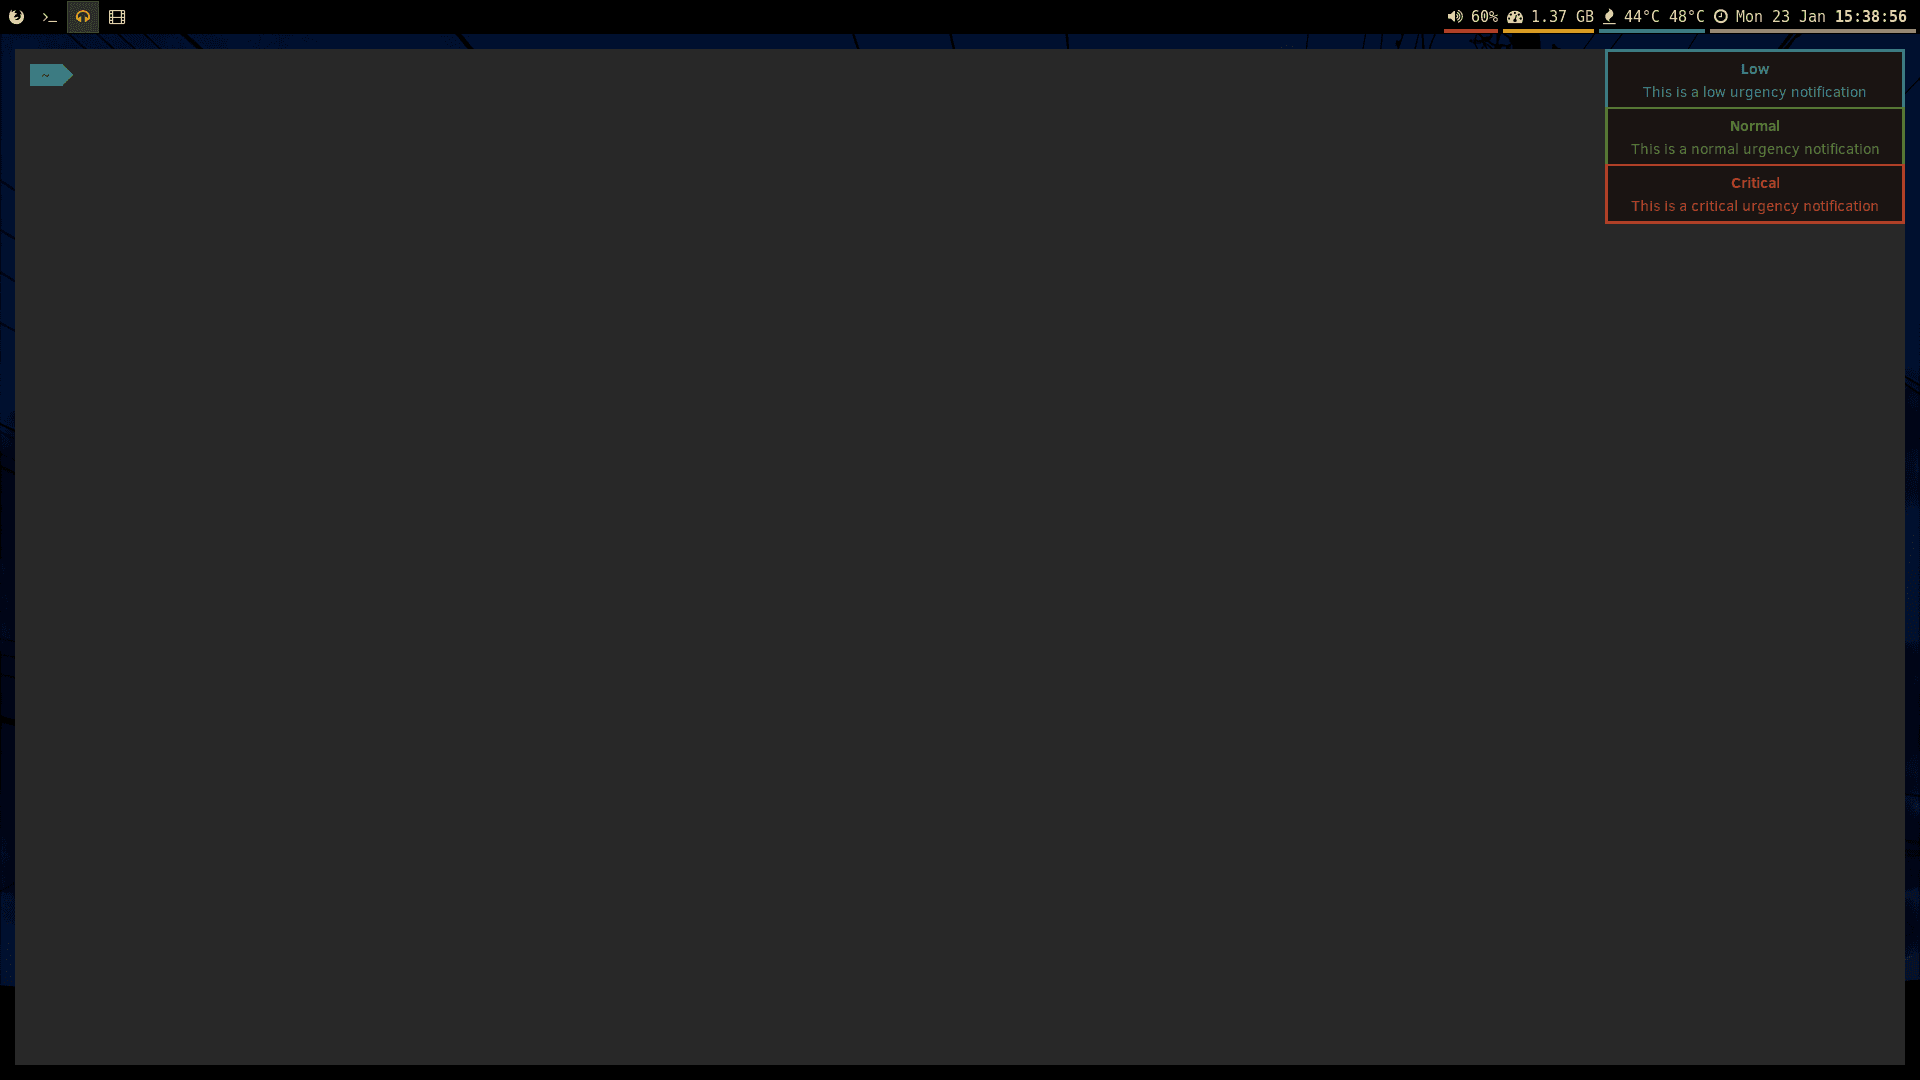
Notifications
Notifications are something common among all operating systems. Dunst is a lightweight replacement for the notification daemons provided by most desktop environments. It’s highly customizable and it doesn't depend on any toolkits.
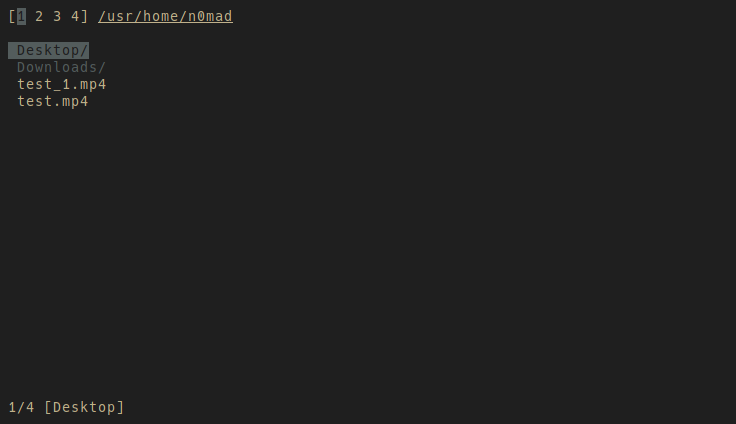
File explorer
Tired of having to ls or printf every directory to check what's inside? A cool tool to navigate directories in the terminal emulator is nnn.
Program launcher
Having to use a new terminal emulator instance each time we have to launch a program is a bit annoying. A way to launch programs without using the terminal emulator is dmenu.
Capture image and video
Capture the screen in images can be done with scrot and capturing video can be achieved with peek, simplescreenrecorder or ffmpeg itself.
— In order to capture images with scrot, just type in a terminal emulator:
$ scrot [options] [file]
Where [options] are (a few ones, check man for a full list):
-d nWait n seconds before taking a shot.-q nImage quality (n=1-100) high value means high size, low compression. Default is 75.-sInteractively selects a window or rectangle with the mouse. (Just click on a window if you want to capture it without dragging).-uUses the currently focused window.-pCaptures the mouse pointer.
And [file] is the desired /path/to/image_file.format
$ scrot -s Images/demo_screenshot.png
Both peek and simplescreenrecoder have graphical interfaces. ffmpeg is a powerful tool that can do format conversions too, all from the command line.
— In order to record the screen with ffmpeg we need to know our current screen resolution. Run xrandr to know about your display available and used resolutions.
Once we know enough about our display, type the following in your terminal instance:
$ ffmpeg -loglevel error -video_size 1366x768 -framerate 30 -f x11grab -i :0.0 -preset veryfast -pix_fmt yuv420p -f mp4 path/to/save/your_video.format
Where stripped down it means:
-loglevel erroronly prints errors.-video_sizesets the output video size (usually we want this to match our screen resolution).-frameratesets the desired video framerate (24, 30, 120...).-f x11grabtells ffmpeg to record a X11 screen (and in mp4 format).-i :0.0means the X11 screen ID.-preset veryfastavoids shuttering.-pix_fmt yuv420pspecifies the pixel format.
The last command is the path and desired name to your record. Don't forget to add the desired video format extension at the end of the name. Some examples are .mp4 and .mkv.
There is also the option to record a tty directly using ffmpeg by recording the framebuffer:
ffmpeg -loglevel error -f fbdev -framerate 10 -i /dev/fb0 -preset veryfast -pix_fmt yuv420p out.mp4
Image viewer
To view images we can use feh, the program we've used set background images in the desktop as it's a simple image viewer that works nice.
Another super cool terminal-based image viewer is sxiv. We can use it as feh, displaying a single image at a time, or we can use it to display thumbnails for every image inside a directory using this command:
$ sxiv -rt *.png
PDF viewer
Heavy duty browsers like Firefox can load and display PDF files. However you may choose not to use a browser like Firefox or you may need a tool to combine with other programs to display PDF files. Zathura is a simple pdf viewer that performs nice in tiling window managers.
After installing it, it's necessary a plugin to view pdf files. Install it via:
$ doas pkg install zathura-pdf-poppler
Play music
If you want to keep a terminal-tide desktop, a music player for local files inside the terminal is cmus. Otherwise programs like VLC are always a good choice.
- In order to add music into it, type
:add /path/to/your/music/. - Use the
ckey to play/pause your playlist.
Play Video
VLC is the main program when playing video comes to mind. You can check MPV or Mplayer too.
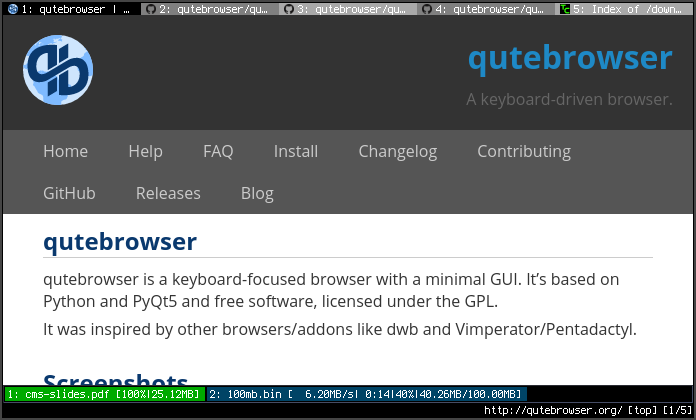
Surf the net
A web browser featuring nearly everything needed for the net is Firefox. If you want to try something different look for qutebrowser or vimb.
A cool thing to rice your web browser is to configure a custom home page. Home pages can be achieved with really simple html + css and a bit of javascript.
In Firefox we can also modify its appearance by adding custom css rules.
Summing up
FreeBSD has a big list of available programs to fit most of the needs. Go check freshports.org or pkgs.org to see if the programs you need are already ported to FreeBSD (I'm sure they will) and check alternativeto.net to find a tool alternative for proprietary tools that may only be available in commercial operating systems.
After completing this guide, you have setup a standard riced desktop ready to install the programs you need for your daily tasks and start working. It's not the regular desktop you see out there, it's efficient, its tidy, it's cool and more importantly it's yours.
Welcome to your home, sweet home working environment (: