BIP Wallet v2.0. Delegation.
Earlier we considered the functions for creating and linking additional wallets. In the updated version of BIP Wallet, added new functionality, which is now parsed. First of all, select the "delegation" tab.
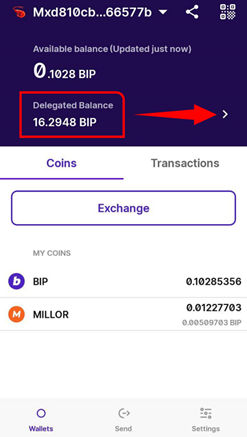
After logging in, we get to the page where the tickers of delegated coins of the wallet, the number, as well as the nodes where the coins were sent.
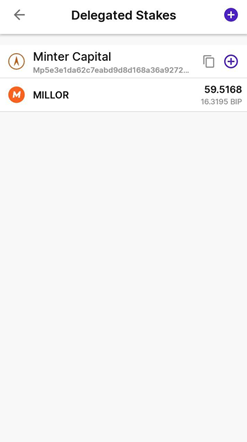
If earlier the coins were delegated from the wallet (screenshot #2) and you decided to send an additional number of coins to the same node, then for this purpose:
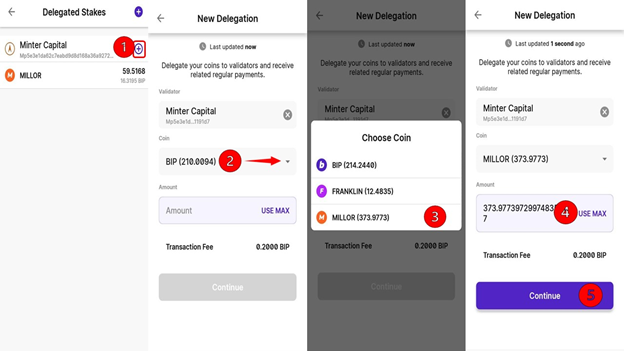
1. Press the add button (screenshot #3)
2. Click to select a coin.
3. We select a coin from the list you wish to delegate.
4. Choose the number of coins that we will send to the delegation.
5. Confirm by pressing the button
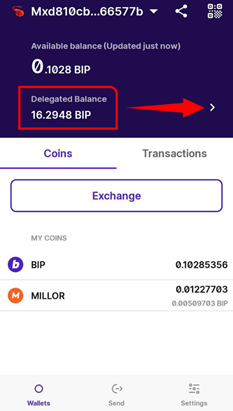
Your transactions can be seen on the main page of your wallet, in the "transactions" tab. Delegated coins will be displayed on the delegation tab, within 5 minutes.
In the updated version of your wallet you can select a validator without leaving the application. Let's consider the process of delegating, at the initial sending of purse coins, to the node. For a start we pass on a tab "delegation".
Next, let's look at each step (see screenshot)
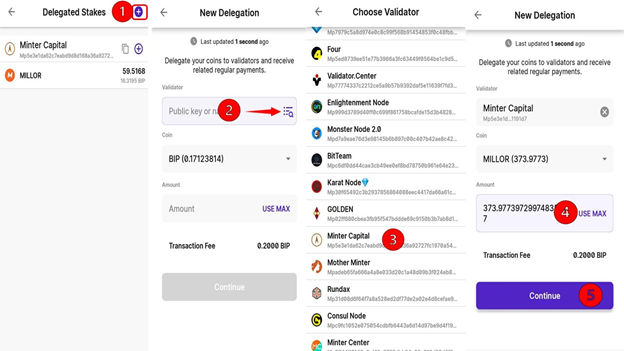
1. Press the add button (screenshot #2).
2. To select a validator, press the button of the corresponding item.
3. 3. Select a node by clicking on the desired position.
4. Enter the number of coins to be sent to the delegation.
5. Confirm by clicking on the button
We reviewed the delegation process using BIP Wallet v2.0 mobile wallet.